REVIEW · LONDON
Private Night Photography Tour in London
Book on Viator →Operated by Sky Blue Photography | Sky Blue Creatives · Bookable on Viator
London looks totally different after dark. This is a night photography walk built around practical shooting skills and iconic views. I love that it works with both DSLRs and smartphones, so you’re not locked into one type of gear. I also love that you practice creative effects in real locations, not just theory. One thing to consider: night long-exposure shots go way easier if you bring a tripod, and low-light results depend on steady support.
I like the tour’s pace, too. It’s long enough to learn a few camera moves and actually use them on the Thames, St Paul’s, and Tower Bridge, but not so long you feel dragged through London in the dark. You’ll get guided framing help, then a chance to test settings as you go, with an e-guidebook waiting after. If you’re expecting quiet, one-person-only instruction the whole time, double-check how many participants are on your specific booking.
In This Review
- Key takeaways before you go
- London at night is the real London Eye test
- What you’ll actually learn (not just where you’ll stand)
- Camera strategy: DSLR vs smartphone, same goal, different workflow
- Meeting point and the rhythm of a night shoot
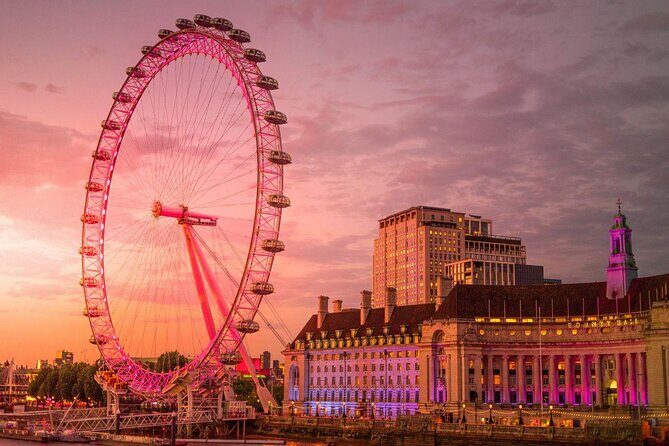
- Stop One: London Eye light strikes and creative night effects
- Stop Two: St Paul’s Cathedral for structure in the dark
- Stop Three: the City of London for angles, not just icons
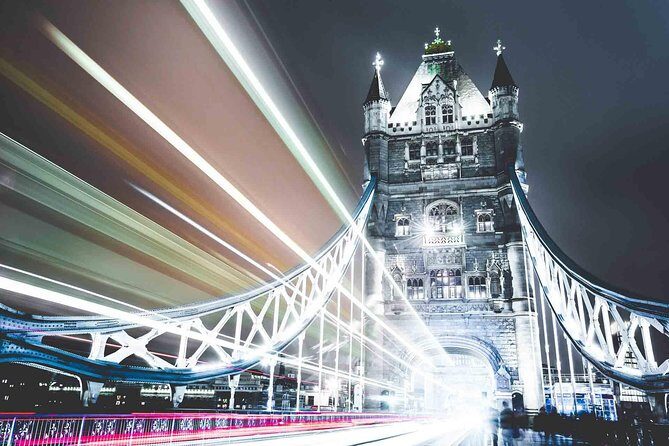
- Stop Four: Tower Bridge and the art of motion trails
- Long exposures, tripods, and what to do when it’s not perfect
- Reflections on the Thames: the easiest way to make photos look expensive
- E-guidebook and tour photos: keep the momentum after the walk
- Price and value: what $164.52 buys you in real terms
- Who this tour suits best (and who might want a different style)
- Practical advice that will make your photos better fast
- Should you book this London night photography tour?
- FAQ
- What camera types does the night photography tour work with?
- How long is the tour?
- Where do I meet and where does the tour end?
- What’s included in the price?
- Are food and drinks included?
- Is free cancellation available?
Key takeaways before you go
- DSLR or smartphone welcome: you can focus on technique, not gear envy
- Thames reflections + motion effects: car light streaks and blurred boats are part of the plan
- Pro-led, practice-heavy instruction: you learn settings, then use them right away
- London Eye at night: perfect for light strikes and creative night results
- E-guidebook after the tour: you can keep improving instead of forgetting everything by morning
- Tripod helps a lot: long exposures are much easier when you can stay rock steady
London at night is the real London Eye test
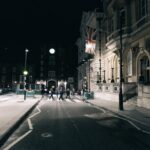
If you’ve only seen London in daytime, you’ve missed the city’s second personality. At night, lights flatten some details and turn landmarks into graphic shapes—perfect for photography.
This tour is interesting because it’s built around what you can shoot right now. You’re not just visiting places. You’re learning how to make night scenes look the way you see them in your head.
And the best part is that it’s not camera-snooty. You can show up with a DSLR or a smartphone, then learn the same core ideas: focus, exposure, stability, and how to use movement for style.
You can also read our reviews of more private tours in London
What you’ll actually learn (not just where you’ll stand)
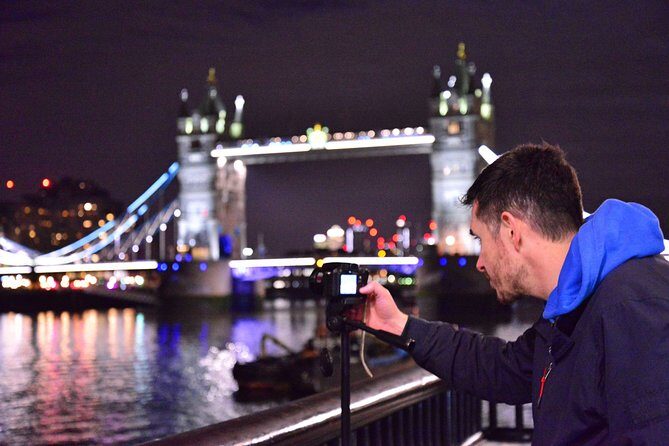
Night photography often sounds complicated, but the tour approach keeps it usable. You start with hands-on guidance for camera control, then you move to landmark spots where those settings matter.
Expect instruction on low-light shooting and long exposures, plus practical ways to create effects from the scene. That includes working with bright points of light, reflections on the Thames, and motion trails from passing traffic and boats.
If you’re a beginner, this tour helps you avoid the usual black-screen frustration. If you’re more experienced, it gives you fresh angles and a reason to experiment—like zoom effects during long exposures and multi-exposure options if your camera supports them.
Camera strategy: DSLR vs smartphone, same goal, different workflow
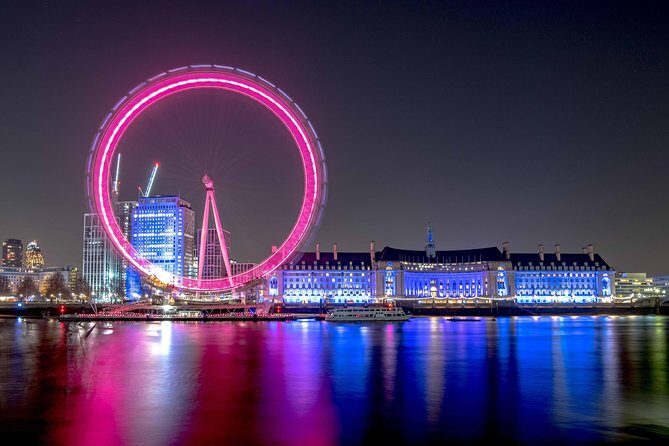
This experience is explicitly set up for multiple camera types, which is a big value for couples, parent-and-kid crews, and mixed groups. You’ll get tips that translate across devices, whether you’re using manual features on a DSLR or experimenting with phone settings.
For smartphones, you’ll still focus on the same fundamentals: keeping the camera steady, managing exposure, and finding the right framing. The goal is to help you stop relying on luck.
For DSLRs, you’ll get guidance geared to longer shutter speeds and creative night effects. If you’ve never touched long exposure settings before, you’ll learn what to try first and how to think about exposure in low light.
One practical note: long exposure success is mostly about stability. If you don’t have a tripod, you might still get shots, but you’ll work harder to avoid blur that’s accidental instead of artistic.
Meeting point and the rhythm of a night shoot
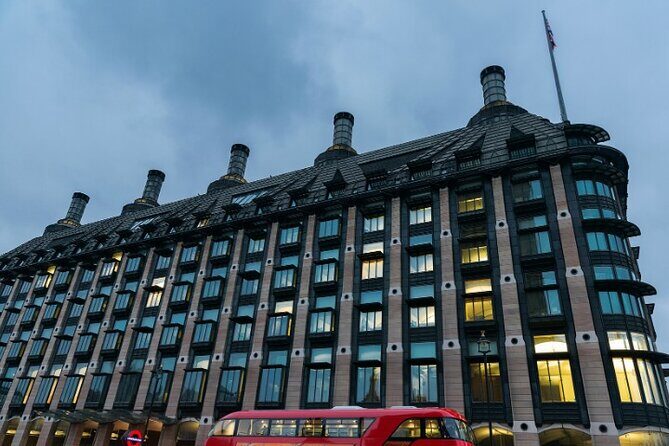
You’ll start at Caffè Nero, Unit B, Portcullis House, 1-2 Bridge St, London SW1A 2JH. The tour ends back at the meeting point, which makes planning simple after you wrap up in the dark.
The total time is listed as about 2 hours 30 minutes, and the experience is described as a roughly 3-hour night session. Either way, it’s paced like a real photo walk: short teaching moments, then enough time at each view to try settings and iterate.
There’s also a nice learning rhythm. You’ll get guidance, test it, then get adjusted again. That “try, tweak, try again” style is exactly how you improve fastest at night.
Stop One: London Eye light strikes and creative night effects
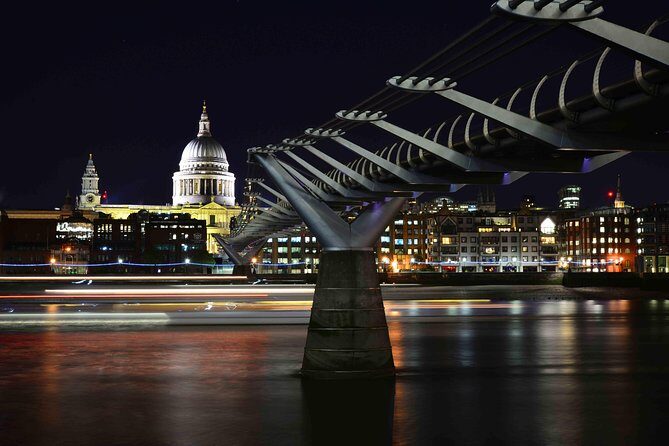
The London Eye is a natural first stop because it gives you high-contrast light sources and a strong subject. It’s ideal for learning how lights behave after dark—especially if you’re aiming for light strikes and stylized effects.
This is where you can practice framing and exposure without leaving the landmark zone. The surrounding river views also give you chances to capture reflections, not just the structure.
If you want photos that feel more artistic than postcard-perfect, this stop is a good training ground. Try different exposures, then compare results. You’ll learn quickly which look matches what you were trying to capture.
You can also read our reviews of more evening experiences in London

Stop Two: St Paul’s Cathedral for structure in the dark
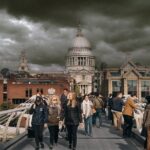
St Paul’s works because it’s built for night contrast. With a strong shape and bright highlights, it teaches you how to handle details that can easily turn into blobs in low light.
This is a good place to practice control. If your shutter speed is too fast, you might lose the mood. If it’s too slow without stability, your frame can smear.
At this stop, you’re also building your “night eye.” You’ll start noticing how different angles change the background and how the cathedral lighting interacts with the surrounding area.
Stop Three: the City of London for angles, not just icons
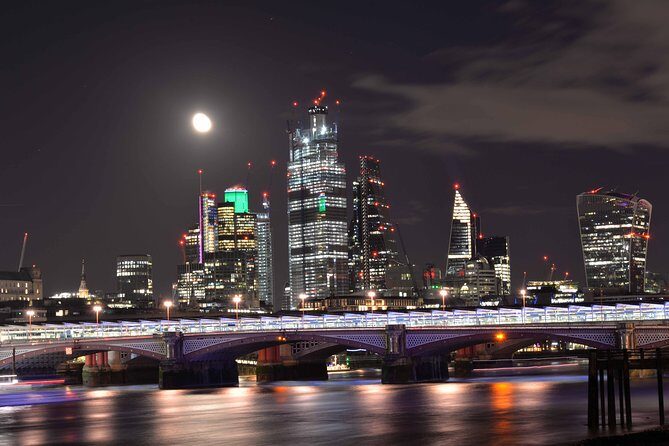
The City of London stop shifts the focus from single landmarks to the environment around them. This matters, because night photos often look better when you add context—streets, signage glow, and layered reflections.
You’ll also get a sense of how to look for composition. That includes finding vantage points where the city lights make a frame, not just a backdrop.
This part is also where practice pays off. After you’ve tried long exposure techniques earlier, you can bring that knowledge to a busier lighting scene and get more variety out of your shots.
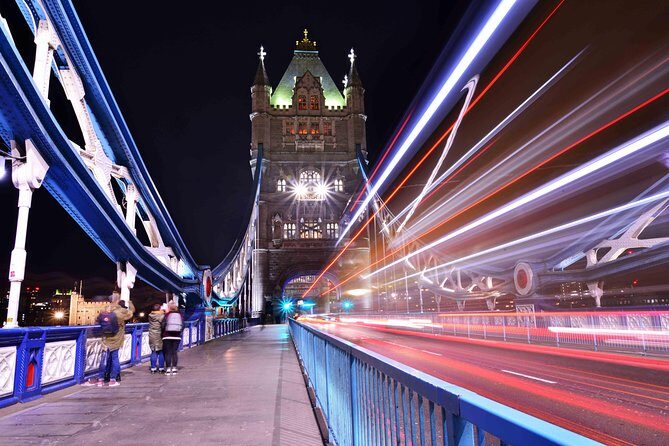
Stop Four: Tower Bridge and the art of motion trails
Tower Bridge is the payoff stop for a lot of people. It has bold illumination and it sits right in the motion zone of the Thames.
This is where you can capture streaming car lights as light trails and also experiment with blurred motion of boats. Those effects help your photos feel alive, not frozen.
Long exposure techniques really show up here. You’ll learn how to balance shutter speed and movement so the blur looks intentional. When it works, you’ll get images that feel like London is moving through your frame.
Long exposures, tripods, and what to do when it’s not perfect
Long exposures can feel magical when they’re right, and annoying when they’re not. The key is to treat it like a craft step, not a lottery.
A tripod is strongly recommended for long exposures, and it makes a big difference in sharpness and consistency. If you’re traveling with one, great. If you’re flying without it, plan for more trial-and-error and lean more on stable shooting positions.
The tour’s style helps here. You’re guided on what to try, then you practice. That reduces the “I set one thing and nothing happened” frustration.
Also, remember that night scenes change fast. Passing cars, boats, and light shifts mean you’ll get better results by waiting for the right moment, not just firing once and moving on.
Reflections on the Thames: the easiest way to make photos look expensive
Reflections are the cheat code of night photography. The river turns light points into textures, and it adds symmetry even when the landmark isn’t perfectly centered.
This tour explicitly focuses on the Thames reflections, and that focus is why the shots can look more dramatic than you’d expect from a short walking session.
When you’re photographing reflections, you’re not only capturing the subject. You’re capturing a second version of it, often with softer edges and more forgiving composition.
If your first attempt looks too bright or washed out, adjust exposure and try again. The river often responds more dramatically than the landmark itself.
E-guidebook and tour photos: keep the momentum after the walk
What I like about the included photography e-guidebook is that it gives you a way to keep improving after the tour ends. Night photography lessons don’t stick if you never revisit settings.
You’ll also receive tour and group photos, which is useful if you want a quick souvenir without stopping to take self-timer shots every few minutes.
This kind of follow-up matters because night learning is incremental. You won’t master exposure in one night, but you can leave with a short list of settings to test next time you’re out.
Price and value: what $164.52 buys you in real terms
At $164.52 per person, this isn’t the cheapest London activity. The value comes from the combination of things you usually have to piece together yourself:
- A pro photographer’s guidance, focused on low light and long exposure
- Hands-on practice at multiple landmark locations
- You’re not limited by device type, since smartphones are supported
- An e-guidebook afterward, so your learning doesn’t vanish overnight
If you already know how to shoot nights and you just want pretty views, you could probably find free spots and DIY your way. But if you want results faster—and want to understand why your shots look the way they do—this price starts making sense.
Also, the tour is designed to be convenient. It runs on foot with a defined route and returns you to the same meeting point, which cuts down on logistics stress.
Who this tour suits best (and who might want a different style)
This tour fits best if you want a guided way to make night photos look intentional. It’s especially good for:
- Anyone using a smartphone and wanting better night results
- DSLR users who want a refresher on long exposures
- People who like landmark photography but also want motion and creative effects
- Couples or family groups with different camera types
It may feel less ideal if you’re expecting a purely private coaching session where you never share guidance time. The experience is presented as private, but there can be small-group dynamics depending on how your booking is arranged. If you want strict one-on-one attention, confirm group size when you book.
Practical advice that will make your photos better fast
Bring a camera-ready attitude and a few useful extras.
- If you can, bring a tripod for long exposures
- Charge your phone and DSLR battery fully before you go
- Wear layers. Night in London can cool you down faster than you expect
- Give yourself time to compare shots. Try a setting, take one or two frames, then tweak
One more pro move: take short breaks to review your screen. The tour teaches technique, but you still need feedback from your own images to lock in what worked.
Should you book this London night photography tour?
I’d book it if you want London at night with direction, not just sightseeing. The tour’s strongest value is that it turns iconic scenes—London Eye, St Paul’s, the City, and Tower Bridge—into practice opportunities for low-light and long-exposure techniques.
Skip it only if you already have a system you trust for night shots and you’re mainly looking for quiet scenery. If that’s you, you might prefer a DIY night walk and spend less.
If you want better photos without guesswork, this tour is a smart bet for the price—especially because it supports both DSLR and smartphone shooting and includes an e-guidebook to help you keep improving.
FAQ
What camera types does the night photography tour work with?
The tour is suited to all camera types, including DSLRs and smartphones, so you can participate with whatever you have.
How long is the tour?
The duration is listed as about 2 hours 30 minutes (approximately), and it’s described as a roughly 3-hour night photography session.
Where do I meet and where does the tour end?
You start at Caffè Nero, Unit B, Portcullis House, 1-2 Bridge St, London SW1A 2JH, UK, and the tour ends back at the meeting point.
What’s included in the price?
The price includes a photography e-guidebook plus tour and group photos.
Are food and drinks included?
No. Food and drinks are not included, unless specified.
Is free cancellation available?
Yes. You can cancel for a full refund up to 24 hours before the experience starts.