REVIEW · LONDON
Jack the Ripper Tour Whitechapel Plus Fish and Chips
Book on Viator →Operated by Jack the Ripper Walks · Bookable on Viator
Jack the Ripper, but with dinner. This Whitechapel Plus tour keeps the story moving with a mic and tablet visuals and a very practical route through the area’s real corners. You’ll also start with fish and chips from Poppies, which makes the whole evening feel less like a lecture and more like a London night out.
What I really liked was the way each stop links to a specific case—Martha Tabram near Gunthorpe Street, Polly Nichols at The Frying Pan on Brick Lane, and Annie Chapman on Hanbury Street. It’s not just spooky names; it’s a usable map of where things happened and how people would have walked past them.
One drawback to keep in mind: the pace is quick for 1 hour 15 minutes and the stops are outdoors, so it’s not recommended if you have walking problems. Also, the guide shows images that can be very graphic, with warnings before they’re shown.
In This Review
- Key highlights you’ll feel right away
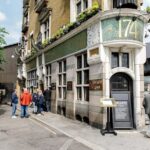
- Where the tour starts: The White Hart, 89 Whitechapel High St
- Poppies fish and chips: the practical start that makes it fun
- The quick Whitechapel route: how it flows in 1 hour 15 minutes
- Stop 1: The White Hart and the poverty backdrop
- Stop 2: Gunthorpe Street and Martha Tabram’s murder site
- Stop 3: Brick Lane and Polly Nichols at The Frying Pan
- Stop 4: Hanbury Street and Annie Chapman’s murder site
- Stop 5: 4 Princelet St and the double event
- Stop 6: Puma Court letters and how newspapers inflamed fear
- Stop 7: Commercial Street, Ten Bells, and Mary Kelly’s corner
- Stop 8: London Fruit & Wool Exchange courtyard and Mary Kelly’s murder
- How the guide tells the story (and what to expect from the visuals)
- Pace, group size, and what to wear
- Value check: is $40.22 worth it?
- Should you book this Whitechapel Plus tour?
- FAQ
- How long is the Jack the Ripper Whitechapel Plus tour?
- What does the tour cost?
- Where does the tour start and end?
- Is the tour in English?
- Does it include fish and chips?
- What’s the maximum group size?
- Is it okay if I have walking problems?
- Is there any graphic content?
- Can I cancel for a full refund?
Key highlights you’ll feel right away
- Fish and chips at Poppies sets the tone before you head into Whitechapel’s backstreets
- Street-corner stops linked to Tabram, Nichols, Chapman, Stride, Eddowes, and Kelly
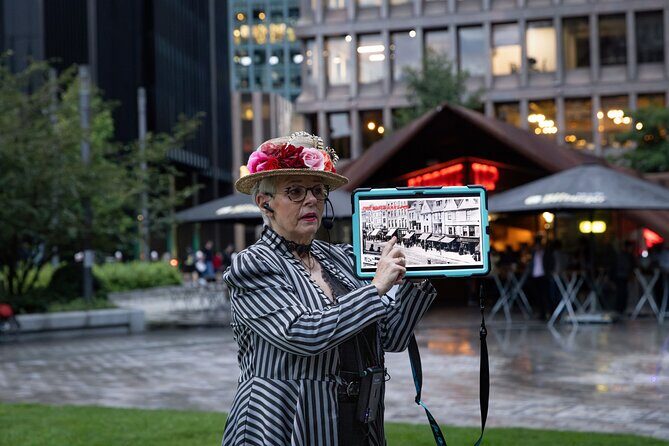
- Tablet visuals with warnings help you understand what you’re looking at
- Puma Court letters and newspaper noise explain how outrage spread in real time
- A finish near Liverpool Street makes getting home easy after the tour
Where the tour starts: The White Hart, 89 Whitechapel High St
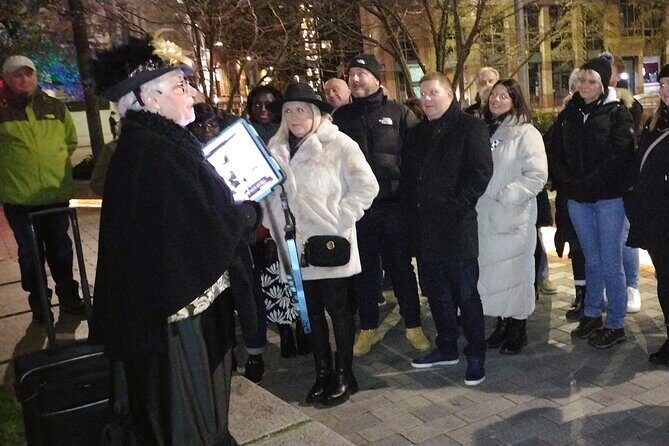
The evening kicks off at The White Hart (89 Whitechapel High St, London E1 7RA). It’s a clear, public meeting spot, and it works well if you’re coming in from another part of the city. You’ll start with a quick orientation and the guide sets the scene with what Whitechapel was like—social deprivation and poverty—because the crimes didn’t happen in a vacuum.
Right away, I like that the tour isn’t shy about context. Even if you already know the headline names, you still get a sense of the neighborhood’s pressure points in 1888: crowded streets, harsh conditions, and fear that spread fast. It’s the kind of framing that makes the locations feel real rather than just myth.
The tour uses a mobile ticket, and the group size is capped at a maximum of 35. That’s big enough for energy, but small enough that you can keep track of what’s happening and look at what the guide is pointing you toward.
You can also read our reviews of more tours and experiences in London.

Poppies fish and chips: the practical start that makes it fun
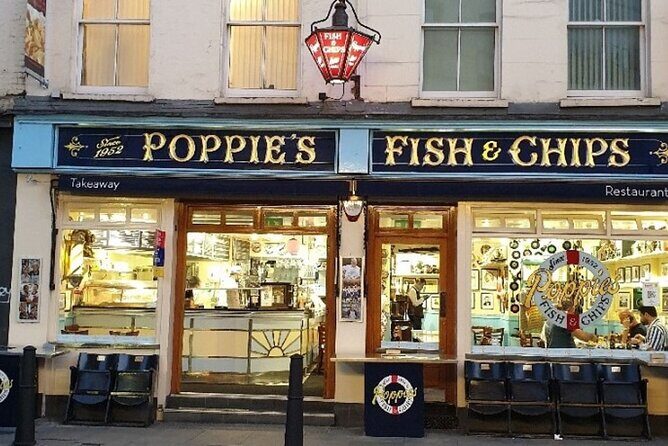
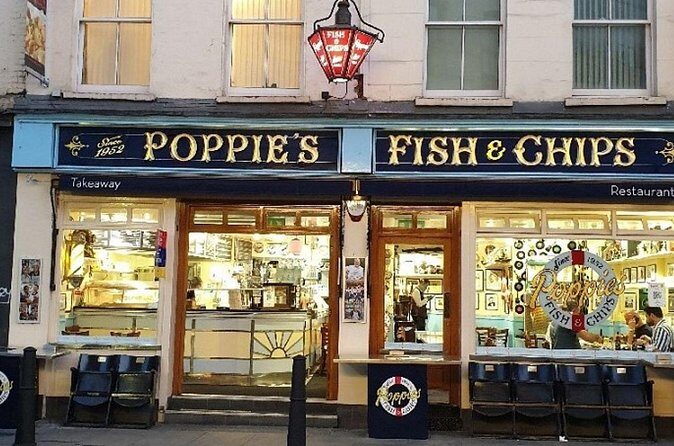
This tour includes fish and chips at Poppies on or around Hanbury Street before you move into the official walk. One of the best parts here is that it’s not treated like an afterthought. You eat first, then you walk while the food is still settling, which is a lot more comfortable than doing a long history talk on an empty stomach.
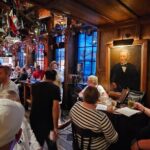
The fish-and-chips stop also gives you a chance to feel the vibe of the area before the darker bits start. Poppies has that old-school pub feel, and that matters because Whitechapel isn’t a museum. It’s an actual neighborhood with living streets and shops, and starting with food keeps you grounded in real London.
Value-wise, pairing a guided walk with a meal is usually what makes these tours feel worth it. At $40.22 per person for about 1 hour 15 minutes, you’re not paying for endless hours of walking—you’re paying for a guided, structured route plus a sit-down food break.
The quick Whitechapel route: how it flows in 1 hour 15 minutes
After the meal and the meet-up, the walking time is short and the stops are timed tightly. You’re looking at multiple short photo-and-story moments—each one about five minutes, with two slightly longer stops. That’s why this works best when you’re comfortable standing outdoors and keeping up.
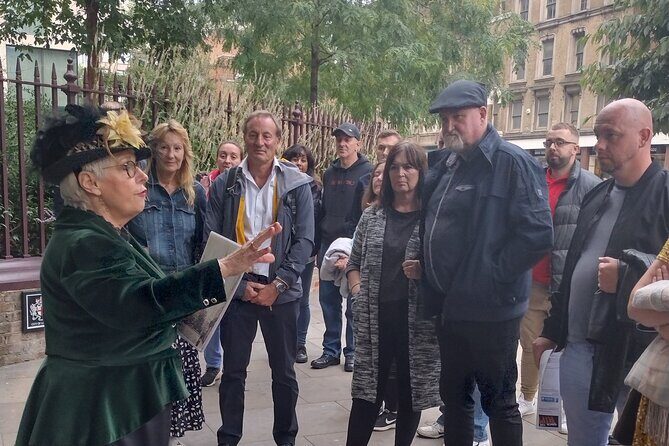
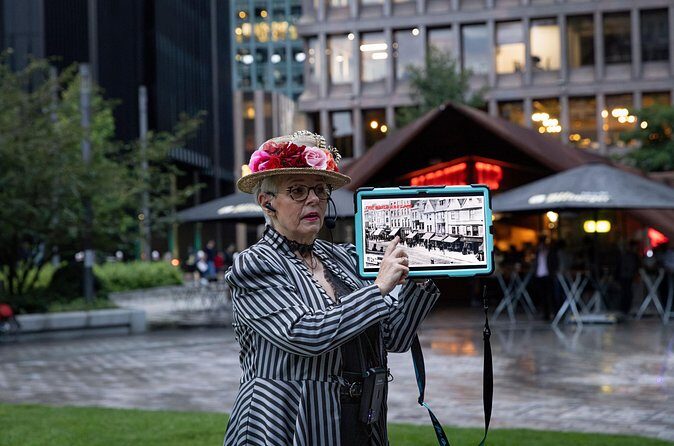
You’ll also get help hearing the guide. The guide is wired with a mic and speaker, so you’re not forced to play guess-the-word while you’re trying to watch street views. On a rainy British evening, that’s a big deal because you’ll be paying attention to details instead of fighting the weather and your own shivering.
The itinerary is designed like a crime-map sprint: start on Whitechapel High St, shift into the side streets, then work toward Spitalfields Market area and the London Fruit & Wool Exchange courtyard. It’s a clean way to see key sites without burning your whole night.
Stop 1: The White Hart and the poverty backdrop
The first stop is behind The White Hart Pub, on Whitechapel High St, with a short introduction in a nearby area (Gunthorpe Street is mentioned as the connector). The guide explains the social deprivation and poverty in the time period, and that sets up everything that follows.
This matters because the Jack the Ripper story can turn into pure sensationalism if you’re not careful. Starting with conditions helps you understand why people were vulnerable and why information traveled the way it did. It’s also a reminder that the victims were real people in an unforgiving city.
If you’re hoping for a purely technical forensic tour, this part might feel more social than lab-like. But if you want the sites to make emotional and historical sense, it’s the right opening.
Stop 2: Gunthorpe Street and Martha Tabram’s murder site
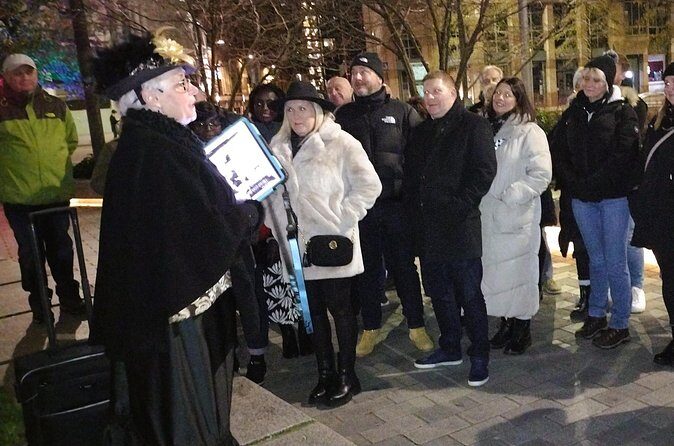
Next you move to Gunthorpe Street, opposite the murder site of Martha Tabram. This is one of the moments where the tour feels like you’re reading the city like a map. You stand at a real street edge and connect that corner to a named event.
The short stop length is intentional. You get the essentials—what happened and why this location fits the larger pattern—without turning the experience into a slow march. If you’re the type who gets restless during long speeches, this pacing will likely suit you.
A practical note: because these stops are brief, you’ll want to keep your attention on the guide rather than drifting off for photos immediately. The biggest payoff comes when you listen first, then look around.



Stop 3: Brick Lane and Polly Nichols at The Frying Pan
Then the route hits Brick Lane, with a very specific anchor: Polly Nichols had her last drink at The Frying Pan Pub at 9 Brick Lane. Even if you’ve seen the story before, this kind of detail gives you an image you can actually hold onto.
What I like about this stop is the human scale. It shifts the tone from purely investigative to everyday life. You’re picturing a pub visit, not just a headline, and it makes the era feel less like fog and more like routine.
One consideration: if pub-story details are your thing, great. If you’re mainly interested in street-by-street crime theory, this stop might feel more scene-setting than analytical. Still, it’s a strong bridge between background and the next murder sites.
Stop 4: Hanbury Street and Annie Chapman’s murder site
On Hanbury Street, you visit the murder site of Annie Chapman at 29 Hanbury St. This stop is another “this is where it happened” moment, and that’s the heart of why walking tours like this work. You get the location and the narrative tied together.
At this point, the guide’s style really matters. You’ll be watching streets that haven’t exactly stayed the same, and the guide helps you translate what you see now into what people would have experienced then. With the mic system and the tablet visuals, you’re not stuck making sense of everything alone.
If you’re someone who hates graphic material, pay attention to the warning moments. The tour includes visuals that can be very graphic, and the guide provides a heads-up before showing them.
Stop 5: 4 Princelet St and the double event
The tour then moves to 4 Princelet St, one of the sites tied to the double event: the murders of Liz Stride and Catherine Eddowes. This is also where you get a bit of place-based texture: the building has stood here since the 1700s, which helps you sense how long this corner has been part of city life.
This stop is longer, about ten minutes, which tells you the guide wants you to slow down a bit. You’ll likely get more explanation here—how the two cases connect and how the night unfolded spatially across Whitechapel.
The downside of a longer stop in a short tour is that you’ll be more aware of the clock. But if you like the Princelet area details, it’s worth the extra time.
Stop 6: Puma Court letters and how newspapers inflamed fear
Next is Puma Court, where the guide talks about letters received by the police and newspapers at the time. This is where the story expands beyond the streets and into the information chaos that followed.
You also hear about the effect of lurid newspaper articles. That part is important because it explains why fear grew and why public perception shifted quickly. It’s not just about what happened; it’s about how the city reacted in the moment.
This section can be a standout if you’re interested in media and rumor. You’ll come away seeing how sensational coverage can shape events and shape what people think they know.
Stop 7: Commercial Street, Ten Bells, and Mary Kelly’s corner
On Commercial Street, you’re set up opposite Ten Bells Pub and the Mary Kelly corner area at the junction of Brushfield St and Commercial St, near Spitalfields Market. This is one of the more recognizable “tour stop” zones because the landmark pub ties the story to a place you can point to without guessing.
Mary Kelly is the focus at this stage, and the guide links the location to what happened next. I like this stop because it feels like you’re watching the story move through a real daily grid of streets, not wandering into vague geography.
If you’re hungry or tired by now, you might feel that because the tour keeps its pace. Still, it’s also a good time to steady yourself, since you’re moving into the finish-direction.
Stop 8: London Fruit & Wool Exchange courtyard and Mary Kelly’s murder
The last stop is the London Fruit & Wool Exchange, at 60 Brushfield St, where you hear about Mary Kelly’s murder at 13 Millers Ct and possible suspects in the case. You’ll also focus on a courtyard area tied to what’s known about the incident.
This is a smart ending point. Courtyards and exchange buildings have a different feel than narrow street fronts. The space helps you think about how people moved, where doors and passageways might matter, and how investigations could be shaped by the layout of a working city.
Also, ending with an investigative component—possible suspects—keeps the tour from feeling like a straight line of tragedy. It reminds you that even then, answers weren’t simple and certainty wasn’t always available.
How the guide tells the story (and what to expect from the visuals)
A big part of the experience is presentation. The guide is wired with a mic and speaker, and you’ll see images on a tablet at stops, with a warning beforehand if the material is very graphic.
That approach helps you follow along, especially if you’re not the kind of person who reads every bit of historical background before a tour. Instead of you guessing at what the guide means, you’re shown the point of focus. It also means the tour is less dependent on you having perfect hearing in a noisy street.
That said, graphic visuals aren’t for everyone. If you want a lighter, purely location-based tour, you might want to consider skipping this one or going with a stronger stomach than mine. The warning is there, but the content is still part of the deal.
Pace, group size, and what to wear
The walking portion is fast paced for a short overall duration. You’ll be moving from stop to stop quickly, and most of the experience is outside. The tour isn’t recommended if you have walking problems, because you’ll be standing and stepping often with limited time at each point.
Group size is capped at 35, with typical groups reported around the mid-20s range. That’s a good size for hearing the guide and still feeling like you’re on a shared adventure rather than in a packed sidewalk line.
For clothing, think practical London weather. If it’s raining, you’ll still want shoes with decent grip because you’re on real streets. If you’re going in summer, bring water; if it’s winter, you’ll likely be thankful for layers.
Value check: is $40.22 worth it?
For $40.22, you’re getting three things that are often sold separately: a guided route through major sites, a structured timeline across key locations, and a meal stop at Poppies. At this price point, the value comes from efficiency—about 1 hour 15 minutes—and from the guide’s presentation tools.
If you love Jack the Ripper stories but hate wandering without context, this is a strong fit. You don’t just hear names; you stand at specific street corners and get explanation tied to those places. That’s where your money goes: into interpretation, not just distance.
If you already know everything and want a deeper academic-style course, this may feel too short. But for a focused night walk with food and clear storytelling, it’s a good deal.
Should you book this Whitechapel Plus tour?
Book it if you want a tightly run evening that connects the biggest case locations to actual street geography. This one is especially good if you like guides who use clear audio and visuals, and if you appreciate starting with a real meal before the darker content.
I would skip it if you have walking limitations or if you know you strongly dislike graphic visuals, even with warnings. Also, if you prefer your sightseeing slow and quiet, the fast-paced structure may feel like too much.
If your goal is to see Whitechapel through a focused lens, eat well along the way, and then move on to a simple exit near Liverpool Street, this tour hits that target.
FAQ
How long is the Jack the Ripper Whitechapel Plus tour?
It’s about 1 hour 15 minutes.
What does the tour cost?
The price is $40.22 per person.
Where does the tour start and end?
It starts at The White Hart, 89 Whitechapel High St, London E1 7RA. It ends on Bell Lane (near Liverpool St Station, about a 5-minute walk).
Is the tour in English?
Yes, the tour is offered in English.
Does it include fish and chips?
Yes. The experience includes fish and chips at Poppies.
What’s the maximum group size?
The tour has a maximum of 35 travelers.
Is it okay if I have walking problems?
It’s not recommended if you have walking problems because the tour is fast paced.
Is there any graphic content?
The guide shows images on a tablet and the material can be very graphic, with warnings before they’re shown.
Can I cancel for a full refund?
Yes. You can cancel up to 24 hours in advance for a full refund. Free cancellation is available before that cutoff.