REVIEW · LONDON
London Photography Masterclass – Private Photography Lesson
Book on Viator →Operated by Aperture Tours · Bookable on Viator
Night London turns photos into science experiments. This private 3-hour class pairs one-on-one coaching with a walk past big hitters like Westminster and Tower Bridge, so you’re not just sightseeing—you’re learning how to control the camera at night. What I like most is the practical night-setup instruction (long exposure, light trails, and high ISO) and the chance to ask questions while you shoot. One consideration: the tour doesn’t include a camera or tripod, so you’ll want to show up with the gear you plan to use.
You’ll start at St Thomas’ Hospital / County Hall (Stop D) and head out into the city’s brightest, most photogenic areas. The route is built for night work: reflections, dramatic architecture, and traffic-and-walkway light patterns along the Thames.
The coaching style is what makes this feel like a true lesson. In past sessions, photographers such as Derrick, Rose, and Noemi have been praised for being patient, creative, and for pushing people past the first version of a photo—especially when weather got messy.
In This Review
- Key points before you go
- Why a private night photo lesson makes sense in London
- What you’ll practice: long exposure, light trails, high ISO
- Your 3-hour route: Westminster to Tower Bridge, timed for night light
- Stop-by-stop at night: what each landmark teaches you
- Westminster Bridge
- Palace of Westminster
- London Eye
- Household Division
- Waterloo Bridge
- Southbank
- Millennium Bridge
- St Paul’s Cathedral
- The Shard
- Tower Bridge
- Coach feedback and photo review: why this feels different
- Gear checklist: what to bring (and what to borrow in your head)
- Price and value: $218.21 for a private lesson in London
- Where to meet and how the tour runs at night
- Who should book this masterclass
- Should you book it
- FAQ
- FAQ
- How long is the London Photography Masterclass?
- Is this a private photography tour?
- What is included in the price?
- Do I need to bring a camera or tripod?
- Where do we meet for the tour?
- What stops will we visit during the lesson?
- Is the tour offered in English?
- What’s the cancellation policy?
- Is there a group discount?
Key points before you go
- Private tuition, not a generic photo walk: you get photography coaching and feedback during the shoot.
- Night techniques you can actually use: long exposures, light trails, light painting, and high ISO shooting are part of the plan.
- Iconic London in a learn-by-doing route: Westminster Bridge to Tower Bridge, with several Thames-side views.
- You control the questions: it’s designed for back-and-forth during stops, so you can troubleshoot as you go.
- Gear matters more than usual: you’ll want your own camera and ideally a tripod for low-light results.
Why a private night photo lesson makes sense in London
London is one of those cities where night photography can go either way: you can end up with blurry, flat shots—or you can make the lights look intentional. This masterclass is built to push you toward the second outcome.
First, you’ll move through high-visibility spots with guidance that helps you stay oriented and safe. Second, you’re not left alone to guess settings. The “private” format matters because it turns your time into a feedback loop: shoot, learn, adjust, try again.
I also like that the class isn’t just about getting a couple of postcard images. The lesson focuses on the how—the part people usually skip when they’re just taking vacation photos.
You can also read our reviews of more private tours in London
What you’ll practice: long exposure, light trails, high ISO
This tour is specifically aimed at night photography techniques, including long exposure, light trails, light painting, and high ISO shooting. Even if you’ve taken photos before, night work forces different thinking: steadiness, exposure time, and how bright the scene actually is.
Here’s what these skills mean in plain terms:
Long exposure helps you pull detail out of dark scenes while softening motion. It’s how you get that smooth, glowing city feel, especially with moving cars and boats. The tradeoff is that you need control—wind, hand shake, and framing can ruin the shot if you’re not careful.
Light trails are a long-exposure specialty. You’re essentially turning moving light into a design element. The “win” is not just the trail—it’s getting it in the right place so it supports the landmark instead of distracting from it.
Light painting takes planning. You typically use short, controlled movement to add or shape light in a frame. It can be fun fast, but it also rewards patience and trying different approaches rather than assuming one setting will work.
High ISO shooting is about working when you don’t have the luxury of long shutter times (or you’re dealing with subject movement). You’ll learn how ISO changes exposure and also affects how noisy the image becomes. That’s the kind of skill you can use all trip long, not only on this night shoot.
Your 3-hour route: Westminster to Tower Bridge, timed for night light
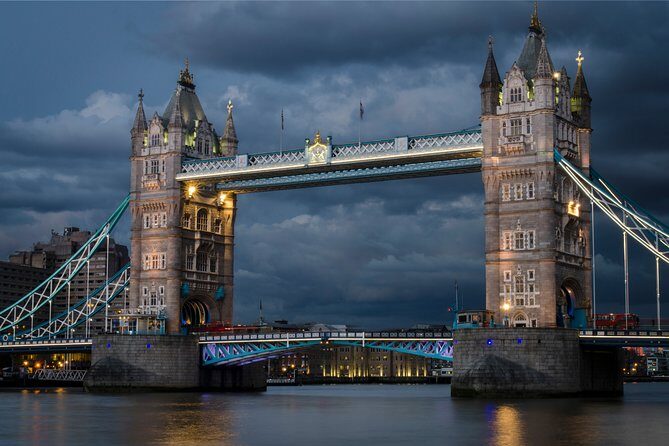
The structure of this masterclass is simple: you’ll hit major landmarks and Thames-side areas where the light sources have something to bounce off. You start at St Thomas’ Hospital / County Hall (Stop D) and finish back at the meeting point, which keeps things easy if you need to get back to your plans afterward.
Because the tour is about technique, the pacing isn’t just sightseeing-speed. You’ll likely spend time setting up and re-shooting as you learn. That’s also why this kind of tour often feels more satisfying than a quick “see everything” walk: you’ll actually notice how changes in framing and camera settings alter the final image.
One thing to be ready for: London nights can bring wind and occasional rain. In past sessions, photographers have still helped people capture strong results even when the weather wasn’t cooperating—so bring warm layers and expect to work a little while staying comfortable.
Stop-by-stop at night: what each landmark teaches you
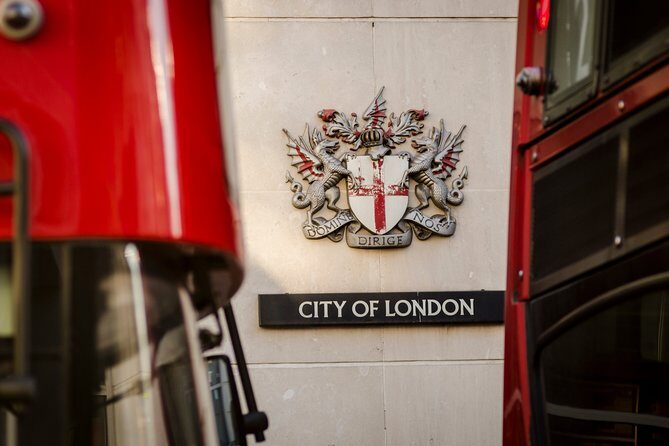
Below is how I’d think about the learning value of each stop. The landmark is the star, but the real goal is practicing night photography in settings that force you to make smart choices.
Westminster Bridge
This is a great warm-up. You get dramatic buildings and street lighting angles, plus enough brightness to experiment with long exposures without everything turning into a blank dark blob.
Drawback to keep in mind: depending on crowd flow, you may need to find a workable spot quickly and then stick with your framing.
You can also read our reviews of more photography tours in London


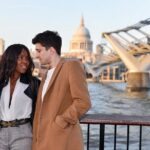
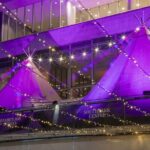
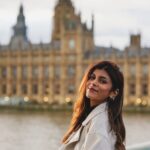
Palace of Westminster
Think of this as a “detail and glow” stop. This area tends to show how your exposure choice affects architectural sharpness and highlight control—what stays crisp versus what blows out.
If you’re learning, this stop helps you understand where your camera struggles and what settings reduce that problem.
London Eye
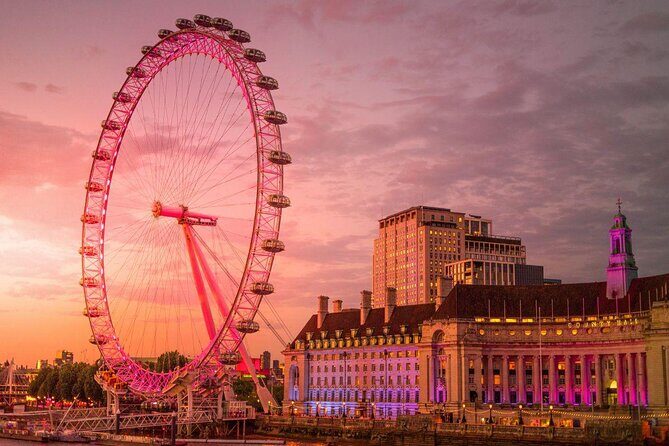
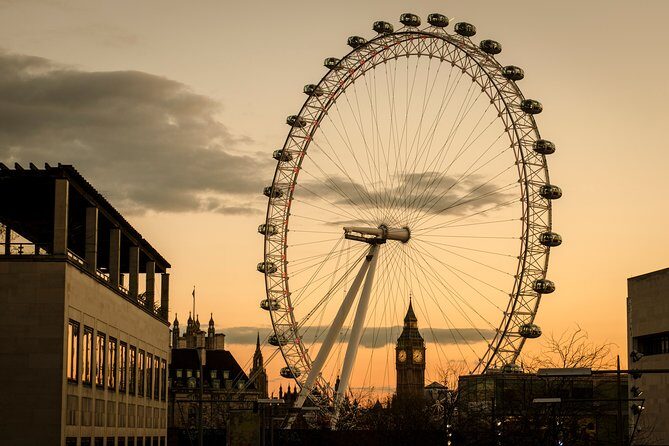
The London Eye’s shape and illumination make it ideal for night exposure practice. It gives you clean geometric lines and bright light points—useful for testing whether your shutter speed is too fast, too slow, or just right.
If your ISO is too high or your exposure too long, you’ll notice the image “look” change fast. That’s exactly what you want to learn on a controlled tour.
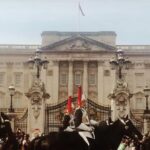
Household Division
This stop is about adding human-scale drama and learning to work with low light around darker structures. It’s a good test of whether your framing keeps your subject readable without losing the night atmosphere.
If you’re aiming for moving lights or a cleaner composition, you’ll likely adjust and re-shoot.
Waterloo Bridge
This is a strong choice for reflections and motion. Bridges tend to give you layers: foreground lights, mid-ground subjects, and background architecture. You’ll feel the effect of shutter speed on traffic trails and how your exposure affects the contrast between those layers.
Consideration: bridges can be windy. Tripod stability becomes a real issue at night.
Southbank
Southbank works because it’s an easy place to practice working the scene. You’ll deal with mixed lighting—signs, street lamps, and skyline glow—so you can learn how to avoid overexposed highlights.
It’s also where you can experiment with composition ideas beyond the obvious landmark shot.
Millennium Bridge
This is a classic setting for learning clean lines at night. The structure creates a geometric frame, and that helps you see whether your camera settings keep the scene sharp enough for the look you want.
If you’re chasing light trails, this stop gives you moving light patterns that respond strongly to exposure changes.
St Paul’s Cathedral
St Paul’s is where many people finally “get it” with night exposure—because you’re combining a bright focal subject with a darker environment around it. The lesson value here is how you handle brightness differences: the cathedral lights versus the surrounding night.
If you’re learning highlight control, St Paul’s is a solid teaching point.
The Shard
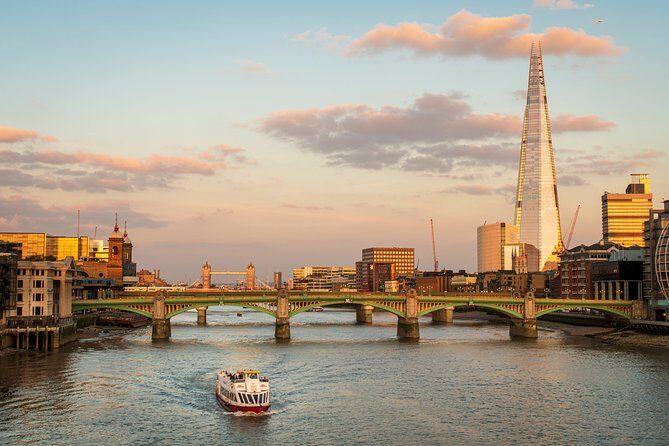
The Shard is a test of vertical composition and how your framing affects impact. It’s also great for seeing what happens when you push exposure too far in a scene with strong points of light.
You’ll likely experiment with different angles so the tower sits cleanly in the frame rather than looking swallowed by other brightness.
Tower Bridge
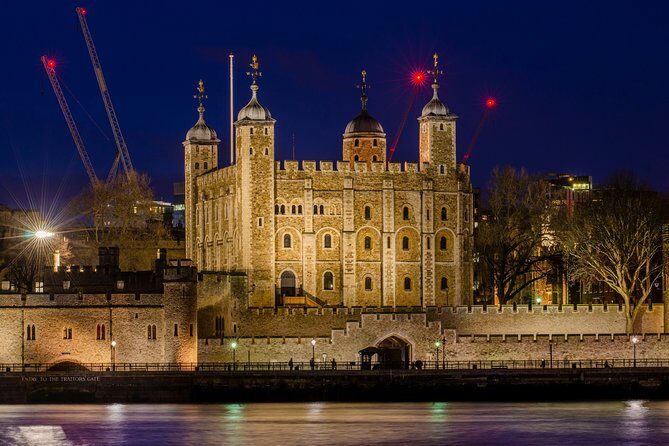
Tower Bridge is the finale for a reason: it has strong structure, bright lighting, and a scene that rewards careful exposure. It’s also a fitting stop for light-trail practice because you can build images around the bridge itself and the moving glow around it.
Practical note: treat it like a “finish strong” session. By this point, you’ll know what settings are working and what needs correction.
Coach feedback and photo review: why this feels different
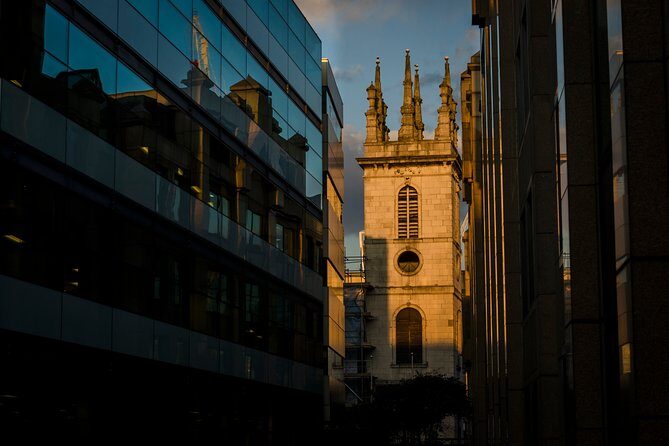
What makes this kind of private lesson click is the feedback loop. Instead of leaving you with a list of settings, the tour includes photography tuition and review during the session.
In past sessions, the coaching style highlighted patience and teaching that goes beyond good-enough. People have praised coaches like Derrick and Rose for tailoring instruction to what they were most interested in, and for encouraging them to push beyond the first version of a shot.
Noemi is specifically mentioned for breaking down long exposure basics in a way that helped people understand how ISO, f numbers, and exposure time actually change the outcome. That’s the kind of explanation that saves you from trial-and-error for the rest of your trip.
Even if you think you know your camera, night photography punishes guesses. This format helps you replace guessing with tested decisions.
Gear checklist: what to bring (and what to borrow in your head)
The biggest practical point: the camera and tripod aren’t included. If you want strong long-exposure results, you’ll be relying on your tripod or at least some stable support.
Also, the tour description suggests bringing a tripod and a scarf for the night shoot. A scarf matters more than you’d think when you’re doing long exposure work and need to stay warm long enough to finish your series of shots.
If you only plan to use quick shots handheld, you can still learn night exposure fundamentals, but your options for the creative stuff—light trails and long exposures—are tighter.
What you should do before you go:
- Charge your batteries and bring spares if you have them
- Check that your camera can do manual or semi-manual exposure (the techniques here require control)
- Plan for cold hands and low light while focusing and adjusting
Price and value: $218.21 for a private lesson in London
At $218.21 per person for about three hours, the value comes less from the route and more from what you get during that time: professional photography tuition and review in a private format.
You’re paying for:
- A photography-focused guide (not just a sightseeing guide)
- One-on-one style instruction where you can ask questions as you shoot
- A sequence of night-ready locations that support the techniques being taught
Add in group discounts, and the price starts to make more sense if you’re traveling as a small photo-minded group. If you’re solo, you’re still getting time with a coach, which is usually where workshops earn their keep—you don’t just buy a walk, you buy improvement.
One drawback for value: if you don’t have the gear (camera/tripod) or you don’t want to practice settings, you might feel the class is more than you need.
Where to meet and how the tour runs at night
You’ll meet at St Thomas’ Hospital / County Hall (Stop D), London SE1 7EP. The activity ends back at the meeting point, which is convenient when you want a clean finish to your night.
The meeting area is near public transportation, which helps if you’re coming straight from dinner plans or want to pair the workshop with other London sightseeing.
It’s offered in English, and it’s a private tour/activity, so only your group participates. That privacy typically makes it easier to practice without feeling like you’re holding up a crowd.
Who should book this masterclass
This is a strong fit if:
- You want real night photography skills, not just better “vacation photos”
- You’re curious about long exposure, light trails, light painting, or high ISO
- You like having a coach while you experiment at iconic London stops
It may not be the best fit if:
- You don’t plan to bring a camera and tripod (or you’re not willing to use them)
- You want a purely relaxed stroll with no need to think about settings
- You’re very sensitive to cold/wet weather and can’t dress for night shooting
Also, most travelers can participate, which is reassuring. The tour is designed for a general audience, but the learning goals are clearly centered on photography technique.
Should you book it
If you’re serious about bringing home stronger night images—and you want someone to guide your choices while you shoot—this is an easy yes. London’s light is too good to waste on guesswork.
Book this masterclass if you want a structured route that matches the exact techniques being taught, and you value coaching that helps you refine your shots through practice. Skip it only if you’re missing the gear you’ll need or you’re looking for a casual, low-effort photo moment.
FAQ
FAQ
How long is the London Photography Masterclass?
It runs for about 3 hours.
Is this a private photography tour?
Yes. It’s a private tour/activity, and only your group participates.
What is included in the price?
The tour includes a professional photographer guide, a local guide, and photography tuition and review.
Do I need to bring a camera or tripod?
Yes. The camera and tripod are not included, so you’ll need to bring your own.
Where do we meet for the tour?
You’ll meet at St Thomas’ Hospital / County Hall (Stop D), London SE1 7EP, UK.
What stops will we visit during the lesson?
The itinerary includes Westminster Bridge, Palace of Westminster, London Eye, Household Division, Waterloo Bridge, Southbank, Millennium Bridge, St Paul’s Cathedral, The Shard, and Tower Bridge.
Is the tour offered in English?
Yes, the experience is offered in English.
What’s the cancellation policy?
You can cancel for a full refund if you cancel up to 24 hours in advance of the start time.
Is there a group discount?
Yes, the experience includes group discounts.