REVIEW · CAMBRIDGE
Cambridge Instagram Self-Guided Tour – Top Photo Spots
Book on Viator →Operated by Vidi Guides · Bookable on Viator
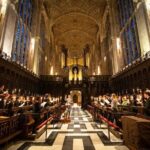
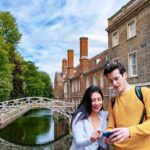
Cambridge is best when you can wander with a plan. This self-guided audio tour takes you to a tight list of photogenic stops, from King’s College to the Painted Church and the river walk near Magdalene Bridge. I like that you control the pace (no waiting for a group), and I also love the offline mode option, so your route can keep working even with spotty phone signal. One drawback to watch: it’s fully on your mobile, and a reported weak spot has been download instructions, so you’ll want to test things before you start.
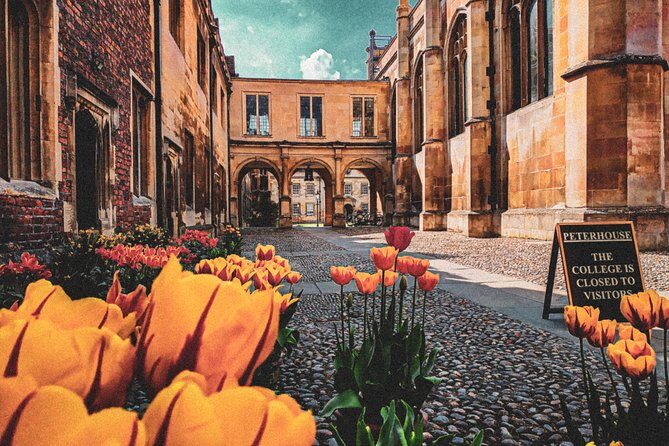
What you’re buying is time-saved focus. In about 45 to 59 minutes, you hit multiple University landmarks—including Jesus College—and a few quieter lanes that feel more like Cambridge than a postcard. The route is laid out with GPS so you can stay oriented, not stressed. If you’re the type who expects someone to hand you a headset or walk you to each doorway, this setup may feel a little too independent.
In This Review
- Key points at a glance
- A Self-Guided Cambridge Photo Run You Control
- Price and What You Really Get for $6.84
- Getting the Audio Working: Offline Mode and Vidi Guides
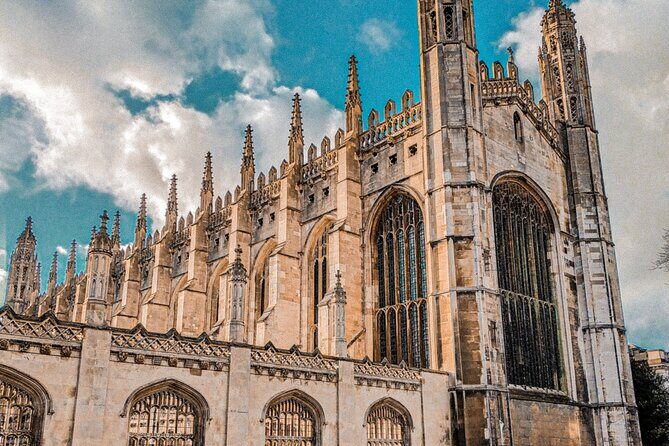
- Start at King’s College on King’s Parade, Then Walk the Thread
- Saint Edward’s Passage: A Tight Lane for Narrow-Passage Photos
- The Guildhall: City Council Seats and Urban Architecture
- Christ’s College: Entrance Details and a Famous Alumni Thread
- All Saints Cambridge and the Painted Church
- Jesus College: Expansive Grounds and Chapel Angles
- Portugal Place: An Instagrammable Neighbourhood Feel
- Magdalene College Quayside: Tracing Cambridge’s Name
- Duration, Group Size, and How Crowds Might Affect Your Pace
- Earphones, Phone Battery, and Other Small Stuff That Big-Time Matters
- Should You Book This Cambridge Instagram Photo Tour?
- FAQ
- What is the duration of the Cambridge Instagram Self-Guided Tour?
- How much does it cost?
- Is there an offline mode for the audio?
- Where does the tour start and end?
- Are earphones or a mobile device included?
- Can I cancel for a full refund?
Key points at a glance
- Self-paced route: start and stop when you want, no fixed schedule to chase
- Offline audio available: download in advance so you’re not stuck hunting for Wi-Fi
- GPS map guidance: helps you find each photo stop without constant rerouting
- Famous plus quieter corners: you’ll mix major colleges with smaller, more subtle spots
- Compact time window: plan on roughly an hour for all stops
A Self-Guided Cambridge Photo Run You Control
This is a short, goal-based way to see Cambridge without building your own mini itinerary from scratch. You’re not signing up for a long history lecture or a big walking day. You’re getting a sequence of photo-worthy places, each with an audio prompt that tells you what to look for and how to frame it.
The best part is the freedom. A 45–59 minute tour sounds strict on paper, but in practice it’s flexible because you can linger at the angles that work for the light, then move on before it feels like a chore. If your feet are tired, you can slow down. If you’re on a roll, you can keep moving. No one is tapping a watch.
You’ll also notice the tour is designed around “route thinking.” It links multiple University buildings together, not just one highlight. That matters in Cambridge, where the center can look similar if you’re wandering without a thread.
You can also read our reviews of more guided tours in Cambridge
Price and What You Really Get for $6.84
At about $6.84 per person, this is cheap—especially because it’s not just “a list of places.” You get access to a self-guided audio experience, plus a GPS map that’s meant to keep you on track.
A value call that helps: compare this with the cost of time. If you would otherwise spend an hour searching for the best angles of King’s College, the Guildhall, and the Painted Church (then still end up lost), this pays for itself fast. You’re paying for direction and story prompts.
The other value angle: the route includes both major named stops and smaller alley-like moments. That mix often costs more in guided tours because the guide has to manage the logistics. Here, the route is pre-planned, and you supply the movement.
Getting the Audio Working: Offline Mode and Vidi Guides
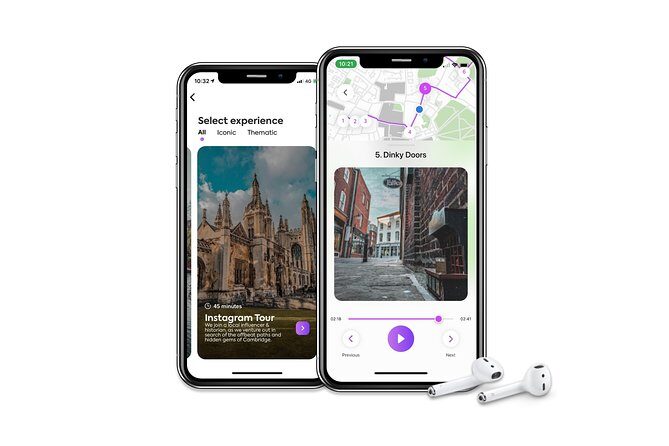
This tour uses a mobile ticket and an audio experience provided by Vidi Guides. That means the most important “gear” is your phone: charged battery, headphones you can use, and enough time before you begin to download the audio if you’re using offline mode.
The tour information specifically says offline mode is available via downloading tours in advance. That’s a big deal in Cambridge because you may run into spotty reception while you’re close to older buildings and narrow streets. If you rely on GPS, offline audio removes one more point of failure.
One caution that’s worth taking seriously: there’s been at least one complaint about missing or unclear download instructions, where the instructions didn’t clearly explain how to download the audio guide and no download link was obvious. So don’t assume everything will be intuitive on day one. Before you leave your hotel, open your confirmation, look for what you need to access the tour audio, and try downloading once on Wi-Fi.
Also, earphones aren’t included. Mobile devices aren’t included either. Bring your own headphones and plan to keep your phone in your pocket or bag while you pose for shots.
Start at King’s College on King’s Parade, Then Walk the Thread
Your start point is King’s College, Cambridge—King’s Parade, Cambridge CB2 1ST. The listed operating window for the start and end points is essentially all day (12:00 AM to 11:30 PM daily).
Your finish is Magdalene Bridge—Bridge St, Cambridge CB2 1UJ. In other words, you’re doing a linear route through central Cambridge, not a loop that ends where you started.
What this means for you: once you hit stop seven, you’ll be in a good spot to keep wandering along the river or grab a bite nearby. It’s also helpful for planning transport—ending near a bridge area tends to make it easier to connect with other sights.
The tour’s format is designed for movement between stops. Even though each stop is described as about 5 minutes, those minutes aren’t meant to be spent sprinting. They’re meant as a reminder that you should keep the pace. If you want extra time at one location, you can make that choice—just expect you might cut time elsewhere.
Saint Edward’s Passage: A Tight Lane for Narrow-Passage Photos
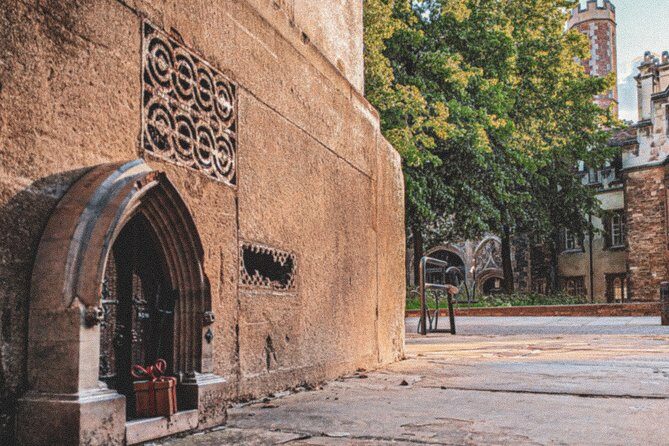
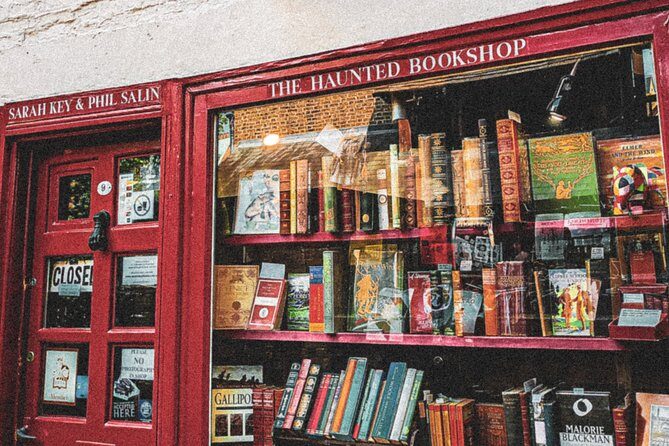
The first stop is Saint Edward’s Passage. This is described as bookstores and a narrow passage, with a step off the beaten path to discover a hidden-feeling Cambridge corner.
This kind of stop is more than a background for photos. Narrow passages in Cambridge change the entire “feel” of your images: reflections, depth, and the way light bounces off brick or wood look more intimate than the big-ticket façades. If you’re trying to make your photos feel personal instead of generic, this is the start that helps.
Potential drawback: because it’s a passage, you may find yourself sharing space with other pedestrians. The audio may encourage you to pause and frame shots, so be ready to step slightly aside when crowds pass.
If you’re shooting with a phone camera, keep your expectations realistic: you won’t get cathedral-wide landscapes here. You’ll get texture, character, and tight composition.
A few more Cambridge tours and experiences worth a look
The Guildhall: City Council Seats and Urban Architecture
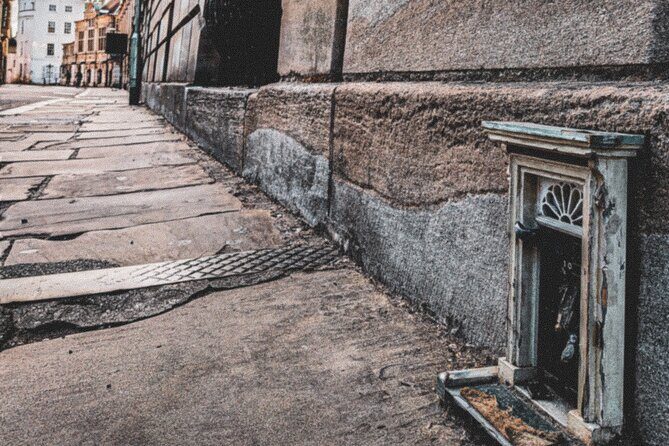
Next up is The Guildhall, framed as the seat of Cambridge’s City Council. This is a different photo vibe than college gates. You’re shifting from University splendor to civic architecture.
Why that’s useful: Cambridge looks incredible in multiple “categories” of scenes. Colleges give you grandeur and tradition. Civic buildings give you angles, entrances, and a sense of where the city lives day to day.
Photography tip you can apply on the fly: for stone buildings like this, timing matters. If the light is harsh, focus on shapes and doorways rather than trying to capture everything at once. The audio here should help point you toward what to notice.
Also, this is another stop where you’ll likely be standing at a public frontage. Keep your phone steady and avoid blocking foot traffic.
Christ’s College: Entrance Details and a Famous Alumni Thread
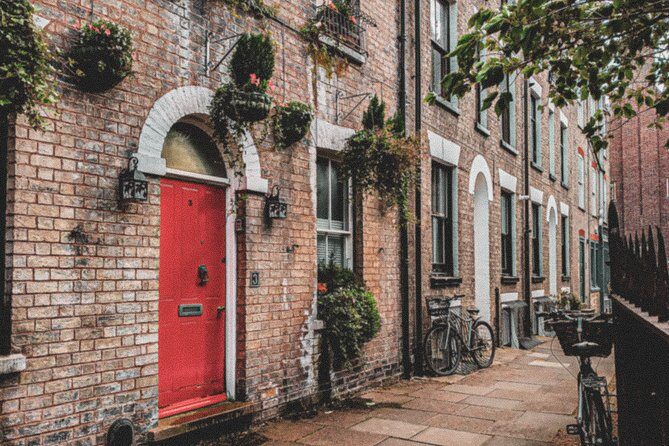
Stop three is Christ’s College, described as admiring the entrance point and learning about its famous alumnus.
Even without a tour guide physically beside you, the audio cue is the key advantage. Entrance points are where a lot of “Instagram face” often comes from: arches, gate details, symmetry, and the way the street frames the college behind it. You don’t need special access. You need a good angle and a quick plan.
One practical consideration: college entrances can have rules about where you can stand for photos. Since this is self-guided, the safest approach is to stay on public walkways and let the audio’s prompts guide your framing rather than your feet.
All Saints Cambridge and the Painted Church
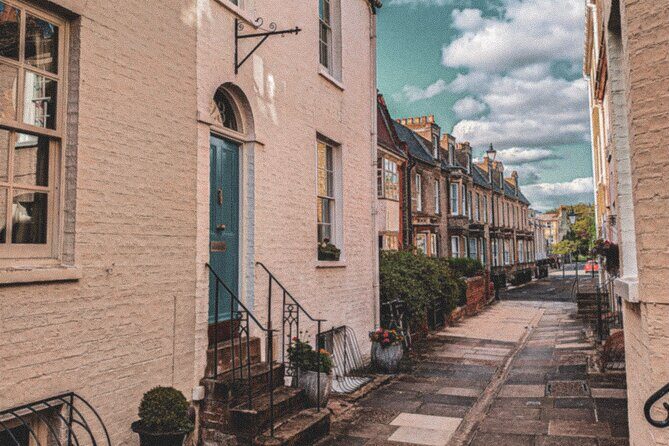
The fourth stop is All Saints Cambridge, specifically The Painted Church. You’ll wander around the third-oldest Cambridge colleges and discover gems.
This is the stop that can make your photos feel like a find. A Painted Church implies detail work—color, surfaces, and features you can zoom in on. It’s the type of scene where a quick smartphone photo can miss what your eyes catch in person.
The self-guided format helps here because you can slow down without feeling like you’re holding anyone up. If you’re photographing smaller elements, take a breath, step back once for overview, then move closer for your frame.
Caution: interiors and smaller religious spaces can have restrictions on photography depending on the moment. The tour data doesn’t state rules, so treat this as a “follow local signage and staff instructions” situation. Keep your phone low when people pass.
Jesus College: Expansive Grounds and Chapel Angles
Stop five is Jesus College, with an emphasis on expansive grounds, a stunning chapel, and interesting history.
Even in a short tour, Jesus College delivers variety. Grounds are good for wide shots, while a chapel prompts the kind of vertical lines and doorway perspectives that make your photos look more “Cambridge” than just any old gate.
Because each stop is time-boxed, decide what you want most at Jesus: either you go for broad scenery in the grounds or you go for the chapel-focused shots. Don’t try to do everything in five minutes. Pick one scene, get your best photo, then move on.
This is also one of the stops where you may hear your audio most clearly because you’ll be near the buildings rather than in open street corners. If your phone is loud enough, you’ll catch the prompts that help you frame quickly.
Portugal Place: An Instagrammable Neighbourhood Feel
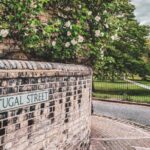
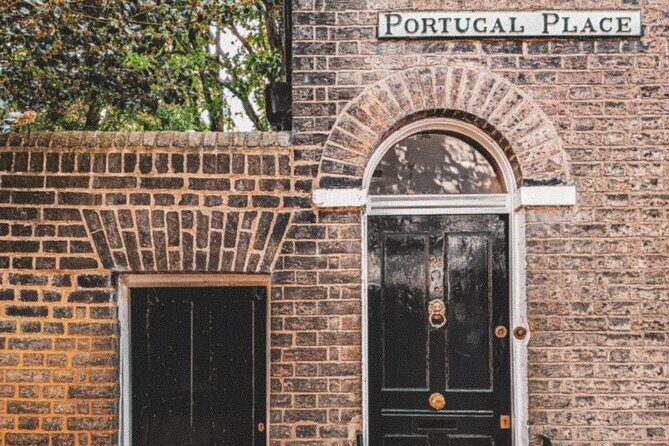
Stop six is Portugal Place, described as an Instagrammable neighbourhood.
This stop is different because it’s not just about a single landmark. It’s about street texture and the mood of a neighborhood block. Places like Portugal Place are where your photos start to look like they came from a person living in the moment, not someone running a checklist.
Since the tour doesn’t specify what exact angles to capture here, rely on your own eye plus the audio’s guidance. Look for repeating lines, door colors, window shapes, and the way pedestrians or bikes might add life to the frame.
Practical note: if you’re photographing people, be respectful. Don’t block sidewalks. And if the scene is busy, use a slower shutter or step aside briefly to keep the flow moving.
Magdalene College Quayside: Tracing Cambridge’s Name
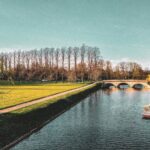
The final stop is Magdalene College, with a walk-by the quayside tracing the story behind Cambridge’s name.
This is a smart way to end. Quayside views give you water reflections and a calmer sense of place than front gates alone. They also help you transition from “photo stops” to “final wander” without abrupt fatigue.
Why the “name” angle matters: it adds a human thread you can carry into your next sightseeing. Even if you don’t memorize every detail, the audio prompt gives meaning to where you are instead of treating the river as just a pretty backdrop.
When you finish at Magdalene Bridge, take a second to look back at the route. You’ll often see the sequence of colleges and corners as a coherent mini-city, not random stops.
Duration, Group Size, and How Crowds Might Affect Your Pace
The tour runs about 45 to 59 minutes. Stop timing is listed as roughly 5 minutes per location, but your real experience will depend on how long it takes to get the shot you want.
The maximum group size is listed as 10 travelers. Since it’s self-guided, you shouldn’t expect a choreographed group flow, but small numbers still matter if you pause for photos at the same spots everyone is trying to photograph.
My advice: choose one or two “must get” photos early, then treat the rest as bonus. That keeps the tour fun instead of turning it into a clock race.
Earphones, Phone Battery, and Other Small Stuff That Big-Time Matters
This is a mobile-first experience. Earphones aren’t included, and your mobile device isn’t included. That means your setup is on you.
Before you start, check three things:
- your headphones work with your phone
- your phone has enough battery for GPS and audio
- you downloaded the audio if you want offline mode
If GPS is essential (and it is for the location-aware map), keep your phone accessible. If you bury it deep in your bag, you’ll spend more time fumbling than photographing.
Also, service animals are allowed, and the start/end points are near public transportation. That’s helpful if you’re combining this with other Cambridge stops.
Should You Book This Cambridge Instagram Photo Tour?
Book it if you want a short, low-cost way to hit top Cambridge photo moments without planning every step yourself. The mix of big-name stops (King’s College, Jesus College) plus smaller scene changes (Saint Edward’s Passage, Portugal Place, The Painted Church) is exactly what works for photos that feel varied.
Skip it if you dislike tech setup. This tour lives on a mobile ticket and audio access, and there’s been at least one complaint about download instructions being unclear. If you’d rather have a staff member explain how to get the audio running, a guided tour might be a better fit.
If you’re comfortable using your phone as your guide and you test the audio download beforehand, this is a practical way to save research time and turn a one-hour stroll into a real photo route.
FAQ
What is the duration of the Cambridge Instagram Self-Guided Tour?
The tour is listed as lasting about 45 to 59 minutes.
How much does it cost?
The price is $6.84 per person.
Is there an offline mode for the audio?
Yes. The experience offers offline mode, where you can download tours in advance to listen without WiFi.
Where does the tour start and end?
It starts at King’s College, King’s Parade, Cambridge CB2 1ST, UK. It ends at Magdalene Bridge, Bridge St, Cambridge CB2 1UJ, UK.
Are earphones or a mobile device included?
No. Earphones and a mobile device are not included.
Can I cancel for a full refund?
Yes. Free cancellation is offered, and you can cancel up to 24 hours in advance for a full refund.