REVIEW · LONDON
London Creative Photography Tour
Book on Viator →Operated by London Photo tour · Bookable on Viator
London looks better through a lens.
What I love most is the small-group attention from guide Jesus and the practical photo concepts you can use right away with your phone or camera. One thing to keep in mind: you cover a lot of ground on foot in around three hours, so comfy shoes matter.
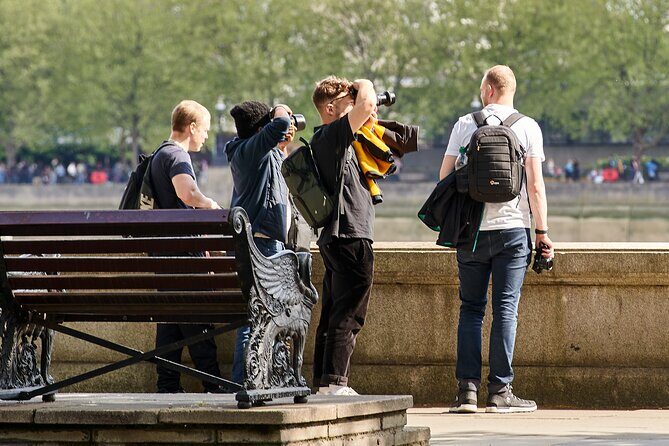
You start in the big, photo-friendly chaos of Trafalgar Square and quickly learn how to see better before you even chase the obvious landmarks. I also like that you can bring your own camera but still get hands-on with extra gear, like newer mirrorless cameras, plus accessories such as tripods and filters.
If you want postcard views only, this might feel busy. If you want to learn how to create images—angles, framing, and street-photo instincts—this tour is a fun way to turn sightseeing into better pictures.
In This Review
- Key highlights to know before you go
- Trafalgar Square, Nelson’s Column, and a Quick Start That Actually Helps
- Trafalgar to Parliament Square: Big Ben Views With Better Framing
- Thames Crossing and the London Eye: Turning a River Into a Photo Tool
- Covent Garden, Embankment, and Charing Cross: Street Photography in Real Time
- Southbank to St Paul’s: Bridges, Iron Arches, and a Clean Finish
- Millennium Bridge Break, Then Optional Shots Across to Southwark
- Tower of London and Tower Bridge: Wrap It Up With Big Names
- Price and value: why this feels fair for the time
- What to bring (so you don’t spend the tour fighting gear)
- Who this tour suits best (and who might skip it)
- Should you book this London Creative Photography Tour?
- FAQ
- How long is the London Creative Photography Tour?
- Where does the tour start?
- Where does the tour end?
- Is this tour private?
- What language options are available?
- Do I need to bring my own camera?
- Is transportation included?
- Is coffee or tea included?
Key highlights to know before you go
- Trafalgar Square start with quick photo fundamentals so you can shoot smarter fast
- Jesus’s hands-on coaching with personalized help for phone or camera users
- Iconic-to-local route linking Big Ben, the Thames, Covent Garden streets, and St Paul’s
- Crossing the Thames multiple times for fresh perspectives and composition practice
- Try extra equipment like modern mirrorless cameras, tripods, and filters (you bring your own camera)
- Coffee/tea break around Millennium Bridge to reset and compare shots
Trafalgar Square, Nelson’s Column, and a Quick Start That Actually Helps
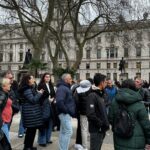
I like tours that teach you how to see, not just where to stand. This one begins at Nelson’s Column in Trafalgar Square (A400, WC2N 5DS), where you get an introduction to basic photography concepts right in the middle of a real London crowd. It’s a smart move because you’re surrounded by targets: Nelson’s Column itself, the National Gallery area, the United Kingdom Landseer Lions statues, and plenty of street life moving past you.
From the start, you’re practicing almost immediately. You’ll also shoot around spots like Admiralty Arch and St Martin-in-the-Fields church, which means you’re not stuck only on the biggest icons. That balance matters. Wide, famous views look great, but urban photography improves when you also train your eye for smaller details—doorways, shadows, signage, and people who don’t pose.
You’ll likely cover classic subjects early, then you’ll learn how to make them feel more like a photo you took than a photo you copied. The guide’s approach is practical and friendly, and both phone and camera users get real techniques, not just theory.
If you come with a bit of curiosity—what happens when you change your angle, when you wait for one more pedestrian, when you frame from street level—you’ll get a lot out of the first stretch.
You can also read our reviews of more photography tours in London


Trafalgar to Parliament Square: Big Ben Views With Better Framing
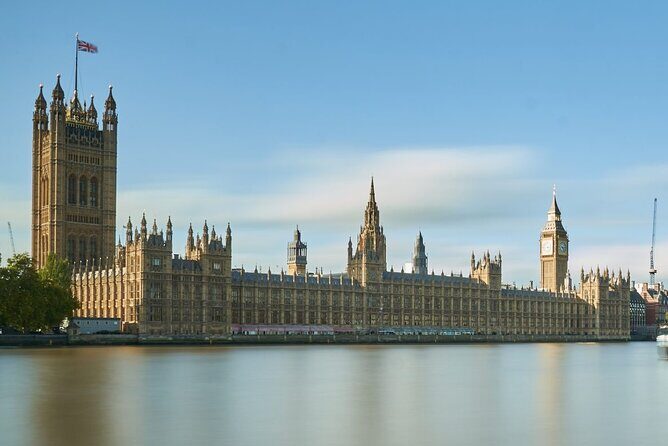
After the meeting point, you walk from Trafalgar Square toward the Palace of Westminster, using the classic corridor of Admiralty Arch, The Mall, Horse Guards Parade, and the Cenotaph as your photo runway. This isn’t just a “walk to the landmark” route. It’s a moving classroom where the guide shows you how to simplify what you’re seeing into a frame that feels intentional.
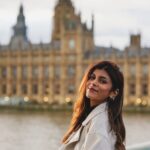
You’ll end up at Parliament Square Garden for outside views of the Palace with Big Ben and Westminster Abbey. That’s prime territory for composition tricks because you can build layers: foreground railings, mid-ground buildings, and the sky with enough contrast to make the image feel dimensional.
One reason this part works so well is the variety of sightlines. Some moments call for wide shots, others benefit from tighter crops that pull out geometry—arches, columns, repeated windows, and the way stonework lines up with roads.
Street photography also becomes easier when you’re already warmed up. This area is busy with Londoners and tourists, and that motion can either ruin your photos or make them better. You’ll get guidance on how to handle the crowd: when to shoot fast, when to hold still, and how to use movement to your advantage instead of fighting it.
Thames Crossing and the London Eye: Turning a River Into a Photo Tool
At some point, you cross toward one of London’s most recognizable sights, the London Eye. This stretch is great because the Thames gives you built-in depth. Water reflects light, doubles shapes, and creates a natural foreground for your subject.
You’ll work on compositions that relate the Eye with the Palace of Westminster and Big Ben. The trick here is not just getting all the landmarks in one frame. Instead, you practice building a relationship between them—through perspective and placement—so your image looks like a decision, not a checklist.
As you walk through areas like Leake Street and around Golden Jubilee Bridges, you’ll find more than one kind of angle. Bridges are photo cheat codes: they let you shoot across the river, then reposition to change the background without changing your subject. You’ll also get chances around the Waterloo surroundings, where the city energy helps you make photos that feel lived-in.
This is also a solid part of the tour to test your settings. If you’re using a phone, you can experiment with how it handles contrast and highlights around bright stone and sky. If you’re using a camera, you can try different shutter speeds or focal lengths to see how the Thames and crowds respond.
If you want that “London at work” feeling in your pictures, this stretch is where you’ll start getting images that don’t look like they came straight from a brochure.
Covent Garden, Embankment, and Charing Cross: Street Photography in Real Time
Next comes the lively side of central London. You cross the river via Golden Jubilee Bridges heading toward Embankment, Charing Cross, and Covent Garden. These areas are active and change fast, which is why they’re perfect for learning street-photo timing.
Here’s what you’ll likely focus on: finding a subject, framing it with surrounding context, then shooting when the scene hits the right moment. Covent Garden can be noisy and crowded, so it helps when the guide gives direction instead of letting you wander while time runs out.
Charing Cross and Embankment add another layer: architectural lines, busy sidewalks, and the kind of human movement that makes photos feel alive. You’ll also get help translating those ideas whether you’re shooting with a phone or your camera. In other words, you’re not left with one set of tips for one kind of device.
In your own time, Covent Garden photos can easily become a mess of bright colors and random people. On this tour, the goal is tighter: pick a focal point, simplify the frame, and learn how to include just enough London texture to make the image tell a story.
If you’re new to street photography, this section is where you’ll feel your confidence rise, because you’ll be practicing with feedback while you still have time to adjust.
Southbank to St Paul’s: Bridges, Iron Arches, and a Clean Finish
After Covent Garden and the central streets, the tour continues south across the river by Waterloo Bridge. You walk along the river toward the National Theatre and the Southbank area, which makes for classic “walk-and-shoot” viewing. This is where you start seeing your route as a sequence of frames rather than a linear sightseeing plan.
A highlight here is Blackfriars Bridge, an 18th-century crossing with iron arches and stone carvings. Bridges like this are built for photography because they’re graphic. You can find strong leading lines, repeated shapes, and texture that shows up well in both daylight and softer sky.
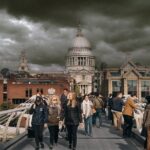
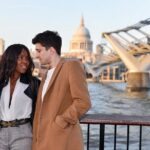
You’ll reach St Paul’s Cathedral, and the finish feels earned. By the time you’re there, you’ve already practiced framing with the Thames, with side streets, and with the way London layers in depth. St Paul’s is a landmark that responds well to different approaches: you can shoot it as a full scene, or you can isolate angles and edges for a more graphic look.
If you’re using a camera, this is also a good time to check your focus and exposure habits. If you’re using a phone, you can compare what it does with light around stone and glass. Either way, this part is about consolidating what you learned earlier and applying it to one big, high-reward subject.

Millennium Bridge Break, Then Optional Shots Across to Southwark
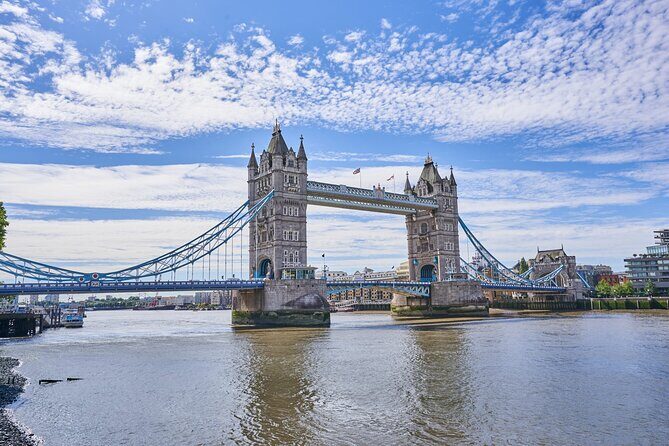
By the time you’re walking toward Millennium Bridge, the tour includes a little pause for a hot drink and a quick check-in on how the experience is going. This matters more than it sounds. When you’re shooting all day, your brain starts treating every scene the same. A short reset helps you see again with fresh eyes.
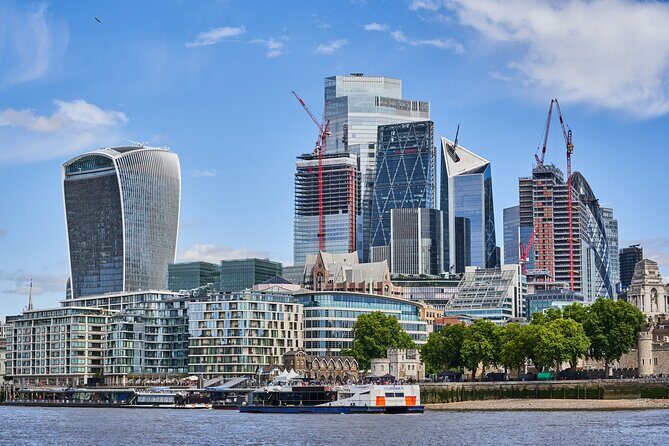
There’s also an optional stretch if there’s time. If you have the energy, you might continue toward the north riverside and head for sights like Tate Modern, Shakespeare’s Globe, London Bridge, or The Shard on the Southwark side. Even if you don’t reach every one of these, this “if we have time” approach is useful because it adapts to the group’s pace.
These optional targets are a great way to push your shooting beyond landmarks. You get a chance to work with different shapes—modern glass next to older stone—and to practice changing your framing style as the skyline changes.
If you’re the type who likes skyline photos but hates standing still for too long, this part should suit you. You’re walking, you’re composing, and you’re getting shots without turning the whole day into a tripod waiting game.
Tower of London and Tower Bridge: Wrap It Up With Big Names
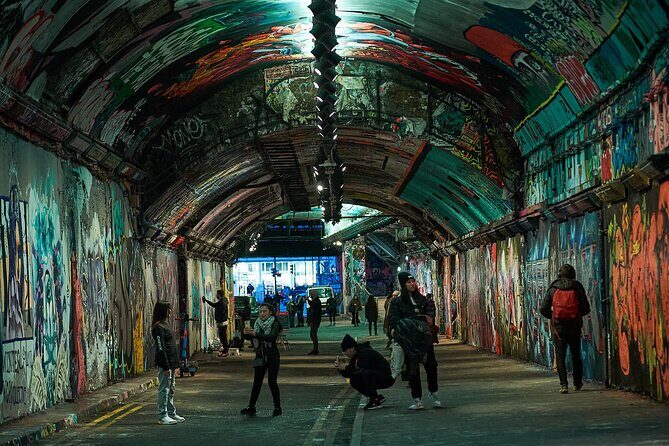
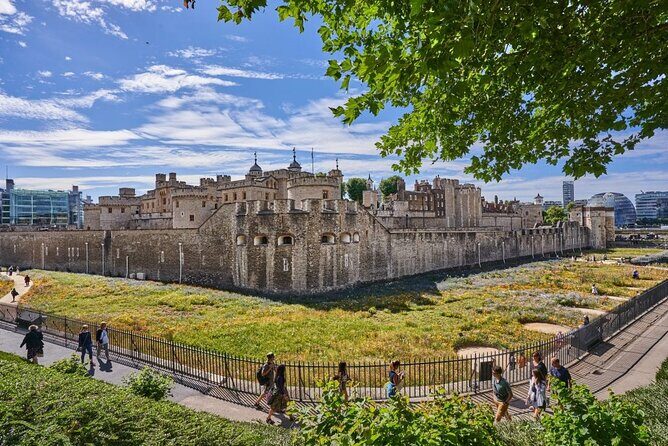
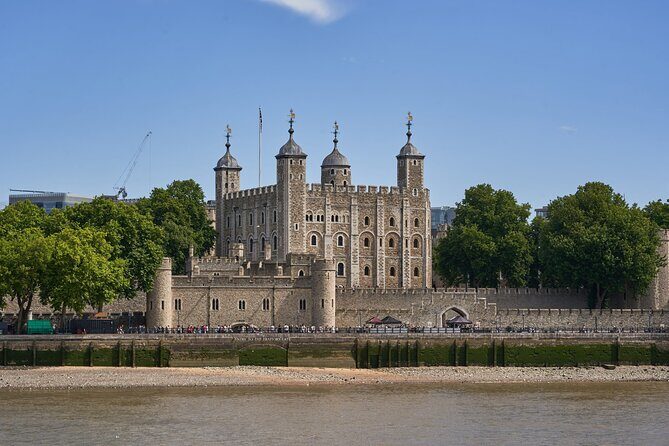
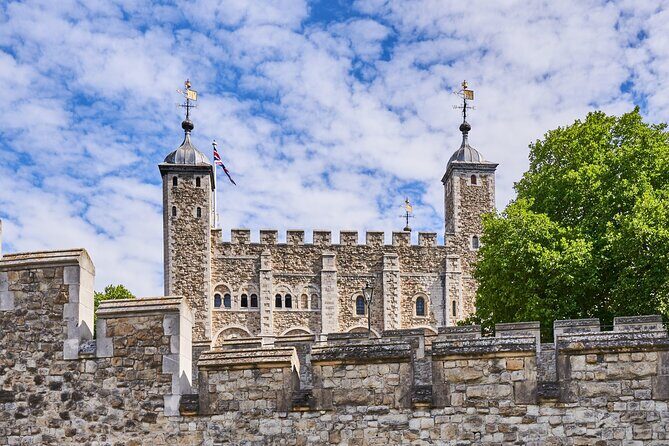
The final stretch takes you toward HMS Belfast and then to the Tower of London and Tower Bridge. Ending here is a smart choice because the area gives you strong photo variety in a compact space: historic waterfront vibes, fort-like architecture, and bridge lines that look good from multiple angles.
By the time you’re finishing, you’ll be more aware of what makes a photo work: foreground elements, clean horizon levels, and using landmarks as subjects rather than backgrounds. The guide’s focus on technique pays off most at the end, when you can compare your earlier shots with what you’re creating now.
It’s also a good place to take one last set of images when the light is right or when you finally find the exact angle you wanted earlier.
Price and value: why this feels fair for the time
At $142.67 per person for about three hours, the value comes from the mix of coaching plus practice. This isn’t just a route with a guide holding your attention. You’re getting photography concepts, and you’ll get personalized attention from a guide who helps you improve while you’re still in the scene.
A few value boosters stand out:
- The tour is private for your group, so you’re not fighting for the guide’s attention.
- You get coffee and/or tea, which is genuinely helpful on a long walking photo session.
- You’re bringing your own camera, but you can try additional equipment like newer mirrorless cameras with different lenses, and accessories such as tripods and filters. That’s a rare perk because it lets you test tools instead of only dreaming about them.
And yes, you should know the tradeoff: there’s no included transportation. This tour works because you’re walking between iconic and street-level scenes. If you hate walking, it won’t feel efficient. If you like being out in the city with your camera in hand, it feels like a good use of a half day.
What to bring (so you don’t spend the tour fighting gear)
Bring your own camera because that’s expected. If you shoot on a phone, bring your charging setup too—this kind of outing eats battery fast, especially when you’re checking shots repeatedly.
Also bring:
- Comfortable shoes for a steady walking pace (moderate physical fitness is the right idea)
- A lens or phone setup that you’re comfortable using
- A plan for storage: empty space helps when you’re shooting lots of street frames
- Layers for London weather swings, since you’re outside a lot
If you get the chance to test extra gear like tripods or filters, take it. Not because you need professional equipment, but because trying it helps you understand what it changes in real photos. You’ll leave with clearer expectations for what to use next time on your own.
Who this tour suits best (and who might skip it)
This tour is ideal if you:
- Want better photos without turning sightseeing into a slow, stressful project
- Like practicing on streets, not only in quiet spots
- Shoot on a phone or camera and want tips that work for your setup
- Enjoy small-group interaction and direct coaching from Jesus
It might be less ideal if you want a mostly relaxed stroll with zero pressure to shoot. The focus is on practicing, moving, and making decisions with your camera. It’s also a lot of walking in a short window, so if you prefer minimal walking, consider a longer, more spread-out option.
Should you book this London Creative Photography Tour?
If you’re the type who takes photos but feels stuck with the same angles, I think this is worth booking. The route gives you heavy-hitter landmarks—Big Ben, the London Eye, St Paul’s, Tower of London—but the real win is how the guide pushes you to think in frames, not in checklists.
The small-group format and Jesus’s professional, teaching-style attention are the reasons people recommend it. If you show up ready to experiment—try a new framing trick, wait for one better moment, ask for help—you’ll leave with images you actually feel proud of, and a clearer sense of how to shoot London long after the walk ends.
FAQ
How long is the London Creative Photography Tour?
It runs for about 3 hours.
Where does the tour start?
The tour starts at Nelson’s Column, A400 Trafalgar Square, London WC2N 5DS, UK.
Where does the tour end?
It ends in a different location. The finishing area is around the Tower of London and Tower Bridge area.
Is this tour private?
Yes. It’s a private tour/activity, and only your group participates.
What language options are available?
The tour is available in English or Spanish.
Do I need to bring my own camera?
Yes. You have to bring your own camera, though you may be able to try/test additional equipment like newer mirrorless cameras and accessories.
Is transportation included?
No. No transportation such as taxis or pickups from hotels is included.
Is coffee or tea included?
Yes, coffee and/or tea is included.