REVIEW · LONDON
Beginners Photography Course – Small Group Workshop
Book on Viator →Operated by London Photo Tours and Workshops · Bookable on Viator
A beginners camera course in London beats guesswork. In just 4 hours, you get clear help with settings like ISO and shutter speed, then you practice right in the streets around City Hall, Tower Bridge, and the Tower of London. The best part is the teaching is geared to your exact camera model, which means you are not stuck translating generic advice.
I especially like the small group size (max six) because it keeps questions from piling up, and you get real one-to-one time. I also like that you get short shooting assignments, so the “how to” turns into muscle memory quickly. One consideration: this is geared to using your own digital camera, so you’ll want to arrive with it charged and ready.
In This Review
- Key things I’d expect you to notice fast
- Why this 4-hour London beginners course works so well
- Meeting at London Bridge and getting oriented quickly
- Stop 1: City Hall and More London for ISO, shutter speed, aperture
- Stop 2: Tower Bridge for composition, depth of field, and light
- Stop 3: Tower of London for lens choices, shutter speed, and framing
- The tutor factor: why a name like Lou matters
- What you practice during the walk (and what you should do after)
- Price and value: is $336.07 a fair deal?
- Gear and prep: what to bring so you don’t lose time
- Who this course is best for (and who might want a different option)
- Should you book this beginners photography workshop in London?
- FAQ
- Where does the workshop start?
- Where does the workshop end?
- How long is the beginners course?
- What is the group size?
- Who teaches the course?
- Do I need to bring my own camera?
- Is food included in the price?
- Are admission tickets included for the locations?
- What language is the workshop offered in?
- Is there a minimum age?
- Is free cancellation available?
Key things I’d expect you to notice fast
- Your settings are personalized to your camera, not a one-size-fits-all lesson
- Short on-location practice assignments help ISO, shutter speed, and aperture stick
- Tower Bridge and Tower of London shooting stops make composition and light feel real
- Small group size (max six) means the tutor can slow down for your questions
- Hands-on coaching throughout keeps you from freezing in front of your menu screens
Why this 4-hour London beginners course works so well
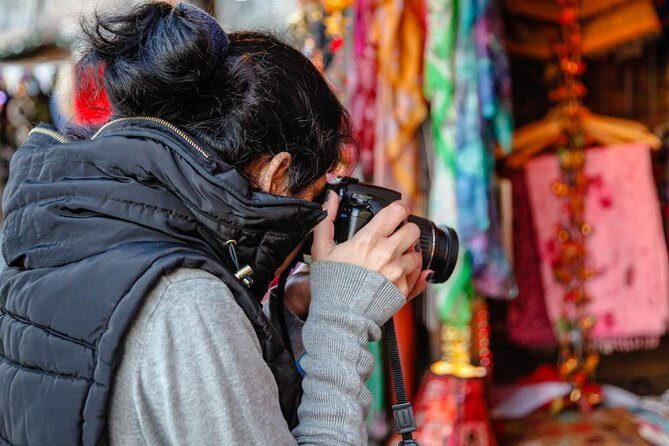
Most beginner photographers start with either Auto mode or scene modes, then get stuck. You press buttons, you get mixed results, and the camera manual feels like a foreign language. This workshop targets the moment where you stop guessing and start controlling your images.
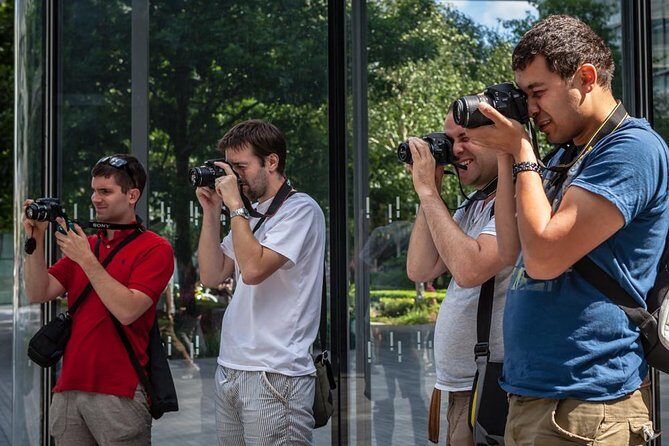
The format is simple: walk, shoot, get coached, repeat. You spend your time learning how core settings work, then applying them at three iconic locations. The locations are not random. They give you variety in light, distance, framing options, and subject types, which is exactly what you need to understand exposure and focus in real-world conditions.
And because it’s small-group tutoring, the tutor can adjust to what you are trying to shoot, not just what the class as a whole might want.
You can also read our reviews of more photography tours in London


Meeting at London Bridge and getting oriented quickly
The workshop starts at London Bridge Station (London Bridge Station Approach Rd, London SE1 9SP). You finish back at the meeting point, so you are not navigating your own route for the whole session.
The meeting setup matters for beginners. If you arrive flustered, you tend to spend your first part of the lesson fighting your gear instead of learning the concepts. The good news here is the session is short enough that the tutor can move through basics briskly, but still make time for questions for each participant.
Also, the tour uses a mobile ticket, and it’s offered in English. That’s helpful if you want instruction to land quickly without language delays.
Stop 1: City Hall and More London for ISO, shutter speed, aperture
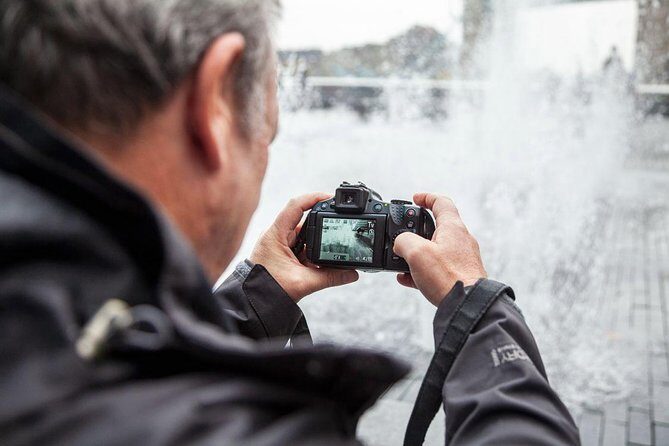
You begin at City Hall in the More London area, and that is where the workshop earns its keep. This is your foundation stop. You learn how to use your digital camera effectively and gain control of its main functions and settings.
Instead of explaining photography like a theory lecture, you work through what the settings actually do to your photo. You focus on the inter-relationship between the big three exposure controls:
- ISO (how sensitive your camera is to light)
- Shutter speed (how long the sensor is exposed)
- Aperture (how much light enters, plus its effect on depth of field)
You also get short assignments on location. That’s a smart approach because these settings are not “memorize the definitions” topics. They are cause-and-effect controls. When you try them right away and see the result, the logic finally makes sense.
If your camera brand is confusing, you’ll likely appreciate that the tutor has experience across many camera models and teaching style is geared to the camera you own. That means you should not have to translate the lesson to match your specific menu layout.
Small drawback to plan around: this first stop can feel mentally busy. You’ll be learning terms, trying settings, and practicing at the same time. If you are the type who freezes when there’s too much happening, take slow breaths, ask questions early, and don’t feel like you must understand everything in the first 20 minutes.
Stop 2: Tower Bridge for composition, depth of field, and light
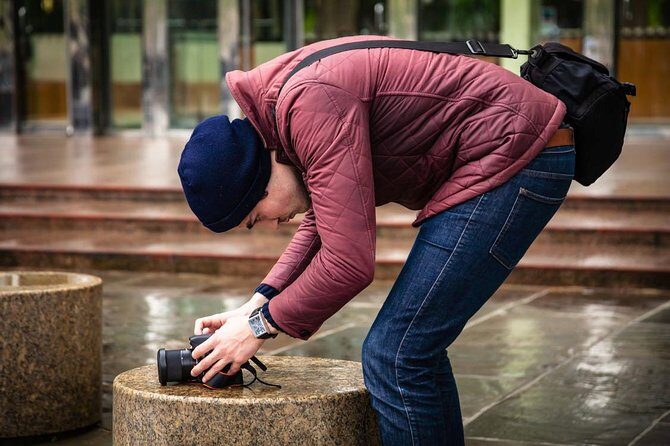
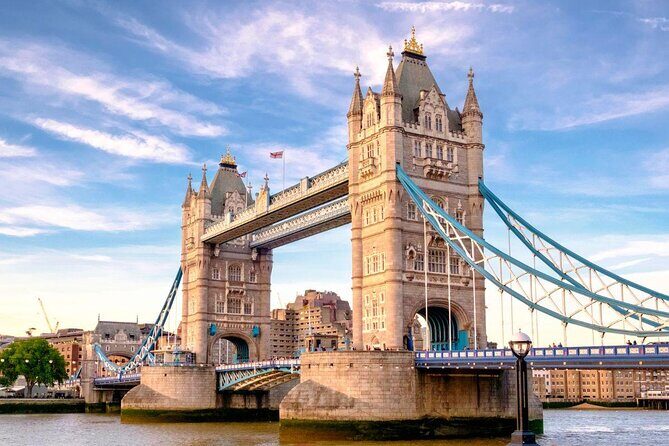
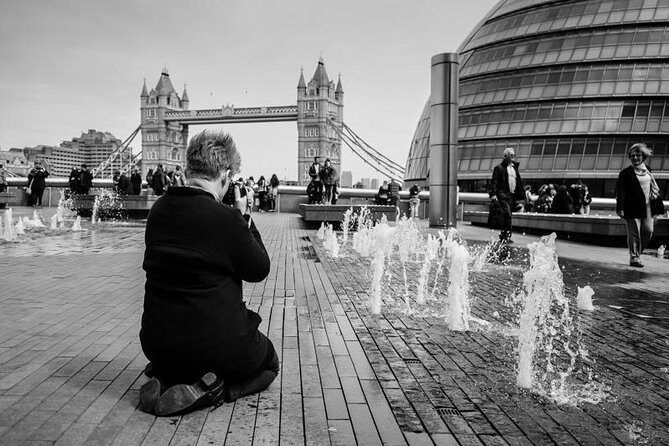
Next up is Tower Bridge, where you photograph from across the river. This framing choice matters for beginners because it gives you multiple composition options:
- tighter frames versus wider scenes
- foreground choices to add depth
- subject positioning for balance and leading lines
Here the teaching turns toward how to make photos look intentional. You learn composition, depth of field, and how light affects your pictures. Tower Bridge is a strong subject, but what you really learn is what your camera is doing when you change settings and move your angle.
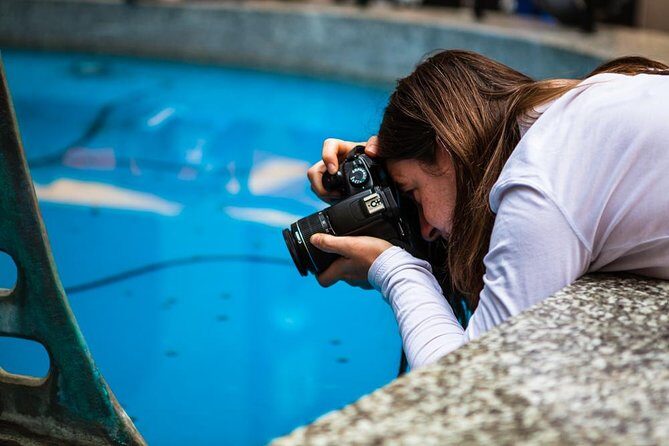
You also practice focusing techniques. Focus can be the difference between a “cool view” and a sharp keeper. The tutor is on hand at all times, so if you struggle to find the right focus mode or keep missing sharpness, you can troubleshoot in real time rather than waiting until the end of the walk.
Practical tradeoff: the stop is about 30 minutes, so there’s less time for wandering. That’s good for beginners who need structure, but if you love slow sightseeing, you may want to return later on your own for extra angles once you’ve learned the basics.
Stop 3: Tower of London for lens choices, shutter speed, and framing
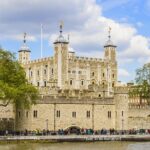
Your final shooting stop is the Tower of London, also photographed from across the river. This is a great capstone because it shifts your thinking slightly toward lens decisions and exposure choices for a more historic, detailed subject.
You learn about:
- lens choices (and how focal length affects perspective and framing)
- shutter speed (how it changes motion and sharpness)
- composition (how to arrange elements so the image reads well)
- using light effectively (so highlights don’t flatten your photo)
You’re also coached on how to approach different subjects. That matters because a landmark is not just “point and shoot.” Buildings have lines, textures, and contrast patterns that can trick your camera’s meter or your own eye.
Since teaching is geared toward the camera you own, you should be able to apply the advice directly without hunting for settings that aren’t exactly labeled the same on your model. This is a big deal if you inherited a camera or bought one secondhand and never had time to figure it out.
This stop is again about 30 minutes, so you get just enough time to use what you learned—and then you move back to the meeting point.
A few more London tours and experiences worth a look




The tutor factor: why a name like Lou matters
What makes this workshop feel different is the person teaching it. The course is delivered by London Photo Tours and Workshops, and the instructor you might work with is often listed as Lou in participant comments. That name shows up because the teaching approach is consistent: patient, hands-on, and focused on making your camera settings stop being confusing.
You should expect the tutor to:
- explain the basics in plain language
- keep everyone on track even if the group has different camera types
- help you fix what is wrong with your specific gear if something isn’t behaving right
- guide you while you shoot, not after you finish
One participant-style theme from the feedback I see around this course is that ISO, aperture, and shutter speed stop feeling like mysteries after practical practice. That’s not magic. It happens when someone explains the relationship between the controls and then forces you to try them on-location.
What you practice during the walk (and what you should do after)
The session is built around the idea that camera skills come from repeated actions, not from reading. You practice:
- adjusting exposure settings and seeing the effect
- focusing correctly and choosing focusing techniques
- using composition strategies like framing and depth
- controlling how light changes your final image
After the workshop, you’ll get the most value if you do a quick “review loop.” On your phone or computer, compare a few shots from different setting choices. Look for the same subject photographed with different ISO or shutter speeds. If you can see the difference in your own images, the next time you’re traveling you’ll know what to change without overthinking.
If you want to level up next, this course sets you up for intermediate learning because you leave with the basics of manual control. That means you can build toward night photography or more advanced composition choices later.
Price and value: is $336.07 a fair deal?
At $336.07 per person for about 4 hours, this is not a bargain-basement class. But you also aren’t paying for a generic lecture. You’re paying for:
- a professional photographer with teaching experience
- coaching tuned to a wide range of camera models
- a maximum six-person group, which helps keep questions practical
- time spent at multiple landmark locations designed for real shooting practice
- free admission tickets included for the stops
The biggest value lever is the one-on-one coaching potential in a small group. If you have ever spent time in a group workshop where your questions get answered slowly or not at all, you know why this matters.
The other value lever is the settings practice. Photography classes that only talk rarely stick. This one gets you trying settings quickly, then seeing results immediately.
What can reduce value for some people: if you already know camera basics, you might feel like you want more advanced assignments. If you’re truly stuck on Auto or scene modes, this price starts to look reasonable fast.
Gear and prep: what to bring so you don’t lose time
This is a hands-on session, so come prepared. You should bring:
- your own camera
- a fully charged battery (plus a spare if you have one)
- memory cards
Also, if you have a lens you commonly use for travel, bring it. The session focuses on lens choices and practical use, so you want your real setup, not a fantasy kit.
Before you go, do one simple thing: check that your camera is functioning normally. If menus are confusing, note where key settings live (even if you don’t fully understand them yet). You’ll spend less time hunting during teaching and more time shooting.
Who this course is best for (and who might want a different option)
This is ideal if:
- you are a true beginner and feel stuck on Auto
- you own a DSLR, mirrorless, compact, or a more intimidating camera and want a clear path to manual control
- you like learning by doing, not just watching someone explain
- you want personalized help without a crowd
It may be less ideal if:
- you already shoot manual comfortably and want deeper, advanced techniques for exposure without basic setting review
- you expect lots of free time for sightseeing beyond the guided stops
If you are traveling to London mainly for photos, the stop selection makes sense. You get landmark variety without a full day of planning.
Should you book this beginners photography workshop in London?
If your goal is to stop guessing and start controlling your camera, this course is a strong choice. The best reasons to book are straightforward: small group size, coaching matched to your camera, and practical on-location practice at City Hall, Tower Bridge, and the Tower of London.
I’d recommend booking if you want confidence fast and you like structure. You’ll leave with a clearer understanding of ISO, shutter speed, and aperture, plus focusing and composition ideas you can use immediately on future trips.
If you prefer a slow, meandering sightseeing tour, you might feel the pacing is tight. In that case, consider pairing this with time later on your own to revisit the views with your new skills.
FAQ
Where does the workshop start?
It starts at London Bridge Station Approach Rd, London SE1 9SP, UK.
Where does the workshop end?
It ends back at the meeting point.
How long is the beginners course?
It runs for about 4 hours.
What is the group size?
It has a maximum of 6 travelers.
Who teaches the course?
A professional photographer with extensive teaching experience leads the workshop.
Do I need to bring my own camera?
Yes. You should bring your own digital camera, fully charged battery (spare if you have one), and memory cards.
Is food included in the price?
No. Food and drinks are not included, and lunch is not included.
Are admission tickets included for the locations?
Yes. Admission ticket(s) are listed as free.
What language is the workshop offered in?
The workshop is offered in English.
Is there a minimum age?
Yes. The minimum age is 16 years.
Is free cancellation available?
Free cancellation is offered up to 24 hours in advance for a full refund.