REVIEW · LONDON
London Street Photo workshop
Book on Viator →Operated by Ed Fil · Bookable on Viator
London streets can teach you faster than a classroom. This 3-hour London Street Photo workshop turns you into a more confident street photographer, with a pro guide and real-world practice. You’ll move on foot through areas around London Bridge, the City, and Tate Modern, learning how to handle a busy scene without freezing up.
Two things I really like here: the small group size (max 5) makes it feel personal, and the instruction is tuned to where you actually are. I also like that you get a complimentary 16-GB SD card, so you leave with your images saved right away. The one potential drawback is simple: you’re out shooting in lively, crowded streets, so it may not be your best fit if you want quiet, slow, low-stress photography.
In This Review
- What This London Street Photo Workshop Really Delivers
- The Route: London Bridge, City of London, Tate Modern (and Why That Mix Works)
- Key Skills You’ll Get Practice With
- Starting Point at Science Gallery: How the Workshop Gets You Ready
- Borough Market to London Bridge: Photographing Real People Without Getting Stuck
- London Bridge and the City: Learning to Read Light and Composition
- Tower Bridge Backgrounds: The Street-Travel Trick That Makes Photos Feel Like London
- Tate Modern Stops: Getting Bold With Angles and Standpoints
- Small Group of 5: Why That Size Changes Everything
- What You Get to Take Home: 16-GB SD Card and Shooting Time That Counts
- Price and Value: Is $123.45 Worth a London 3-Hour Workshop?
- Who This Workshop Suits Best (and Who Might Want a Different Style)
- Quick Practical Setup Tips Before You Go
- Should You Book This London Street Photo Workshop?
- FAQ
- Where does the London Street Photo workshop start?
- How long is the workshop?
- How many people are in the group?
- What areas do you photograph during the workshop?
- Is the workshop offered in English?
- Do I get anything included for my photos?
- Is a mobile ticket provided?
- What is the cancellation rule?
- Are service animals allowed?
What This London Street Photo Workshop Really Delivers
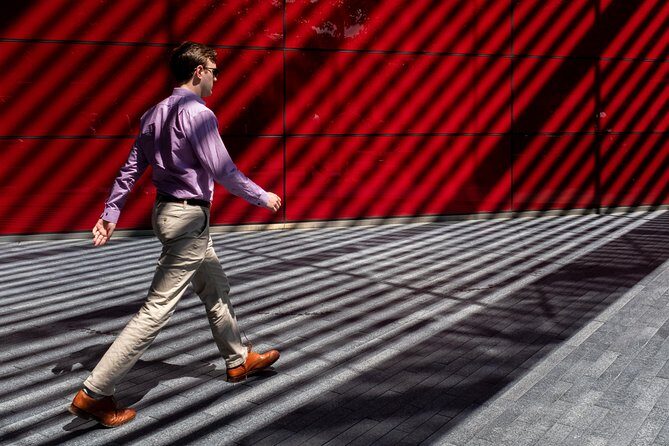
This isn’t a “look at cool buildings” walk. It’s a hands-on street photography session built around learning in motion. The goal is to help you shoot with more intention in places where people, light, and distractions are all happening at once.
With Ed Fil, the vibe is practical. You’re shown locations, light, and compositions you can actually use, then you go back out and apply what you just learned. In the reviews, Ed is praised for explaining calmly and meeting people at their skill level, including photographers who are fairly new. That matters because street photography is partly technique and partly nerve.
You also get something I always appreciate in workshops: time spent shooting, not just talking. The route covers some of London’s most photographed areas, but the focus stays on finding fresh angles and candid moments, not collecting the same postcard views.
The Route: London Bridge, City of London, Tate Modern (and Why That Mix Works)
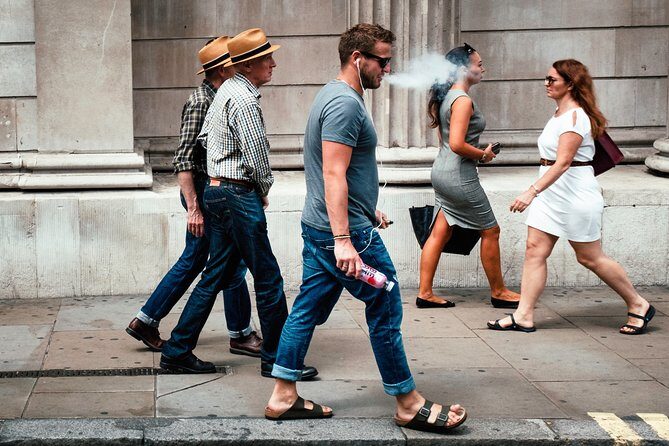
The workshop route is built around a smart idea: London Bridge to the City gives you layers—people, reflections, signage, textures—while Tate Modern brings in strong architectural backdrops and big-photo compositions.
You’ll be walking in a practical loop that starts at Science Gallery Great Maze Pond and ends back at the meeting point. Along the way, you’ll cover:
- London Bridge area (a natural place to practice street rhythm)
- Borough Market zone (excellent for faces, movement, and detail)
- Tower Bridge and nearby City views (for mixing landmark + people)
- Tate Modern surroundings (for composition and light choices)
Here’s the benefit for you: you won’t only learn “what to shoot.” You’ll learn how to choose where to stand, what angle to use, and how to work a scene until it gives you something worth keeping.
A few more London tours and experiences worth a look


Key Skills You’ll Get Practice With
Street photography is basically three things: seeing, timing, and editing in your head while you’re still shooting. This workshop pushes you on all three:
- Learning to frame people and environments together
- Training yourself to look for strong light and composition
- Becoming more assertive about shooting in public without panicking
Starting Point at Science Gallery: How the Workshop Gets You Ready
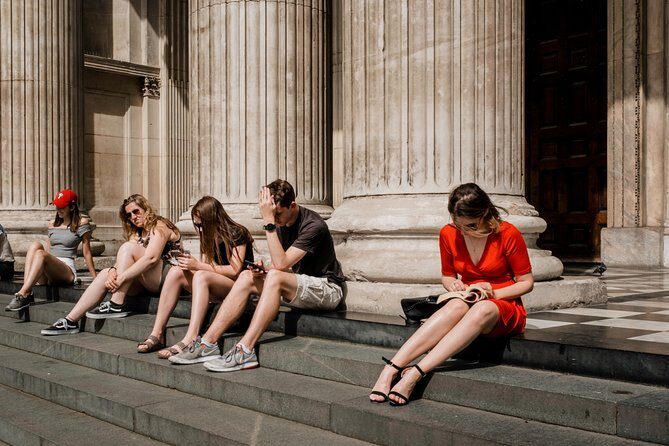
The tour meeting point is Science Gallery Great Maze Pond, London SE1 9GU. This location is useful because it’s close to major pedestrian flows leading toward the London Bridge and City side. You’re not starting in a remote spot where you have to “figure it out” on your own.
The start matters because street photography only works when you get comfortable quickly. A good first 10 minutes can save you an hour of frustration later. Ed’s teaching style comes across as calm and structured in the feedback, which helps if you’re nervous about approaching scenes—or about getting your settings wrong in public.
If you’re new, you’ll appreciate how the workshop adjusts to your level instead of assuming you already know street basics. If you already have experience, you’ll still find value, because the focus stays on practical application: go shoot, come back for guidance, then shoot again.
Borough Market to London Bridge: Photographing Real People Without Getting Stuck
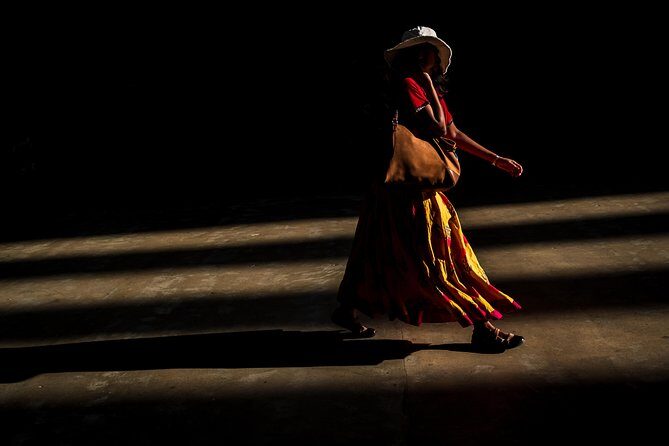
One of the most praised parts of the experience is how Ed uses areas like Borough Market, not just as scenery, but as a training ground. This is where you learn to handle variety. People are moving. Lighting changes. There’s food, signage, and close-range textures—all classic ingredients for street photos that feel lived-in.
Here’s what I think makes this stop work so well:
- You can find portraits quickly without traveling far
- You’ll practice shooting around crowds without feeling like you’re in the wrong place
- You get practice separating interesting backgrounds from messy ones
In the reviews, people call out the “off the beaten path” nature of the photo spots. That’s the real value: you end up in spots that are still London-famous, but not the exact same angles everyone copies.
Practical tip for you: in places like this, don’t chase the first good shot. Walk a few steps, check the background, then decide if you want faces, hands, or close details. Street photography improves when you train yourself to keep options open.
London Bridge and the City: Learning to Read Light and Composition
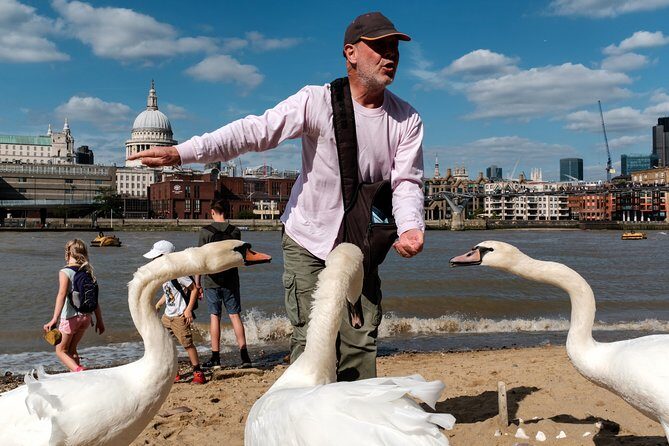
London Bridge and the nearby City of London area give you a strong mix of built geometry and moving humans. That combination is perfect for street work, because the lines and surfaces help you build cleaner compositions while people provide the story.
Ed’s instruction is repeatedly described as helpful for both newer photographers and those with several years of experience. That usually means the workshop isn’t only teaching composition from scratch. It’s also refining how you use what you already know—like where to stand, how to tighten framing, and how to spot “quiet” pockets inside busy areas.
You’ll also get guidance on:
- Light choices that make scenes feel less flat
- Compositions that separate your subject from clutter
- How to spot shots while you’re walking instead of only when you stop
One small detail that shows up in the feedback: Ed shares examples using his iPad. Seeing real examples helps you translate “rules” into images you can copy in your own style.


Tower Bridge Backgrounds: The Street-Travel Trick That Makes Photos Feel Like London
If you want your street photos to feel like place, not just random street scenes, this is where you learn a very practical approach. One reviewer highlights a fun exercise: combining street photography with travel photography.
The idea is simple and powerful:
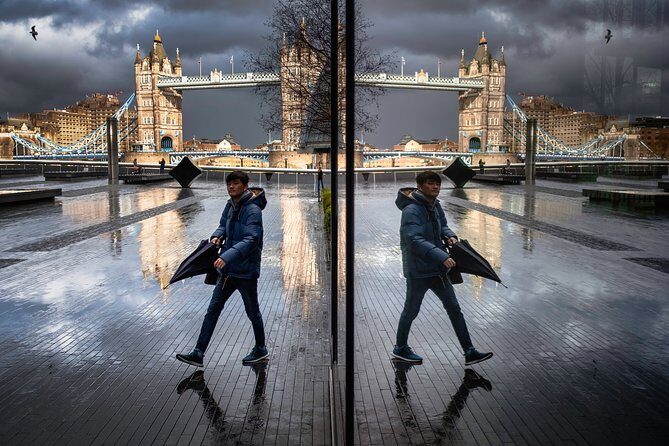
- Place an iconic landmark (like Tower Bridge) in the background
- Put interesting people in the foreground
- Build an image that tells a story about where you were, plus who you saw
This matters because it solves a common problem. Many street photos are technically solid but feel generic. A landmark in the background—handled carefully—anchors the image in London without turning it into a tourist checklist.
You’ll likely spend time practicing this kind of framing around the Tower Bridge area, then applying the same thinking elsewhere. The best part is that once you learn the technique, you can reuse it later on your own trips—no guide required.
Tate Modern Stops: Getting Bold With Angles and Standpoints
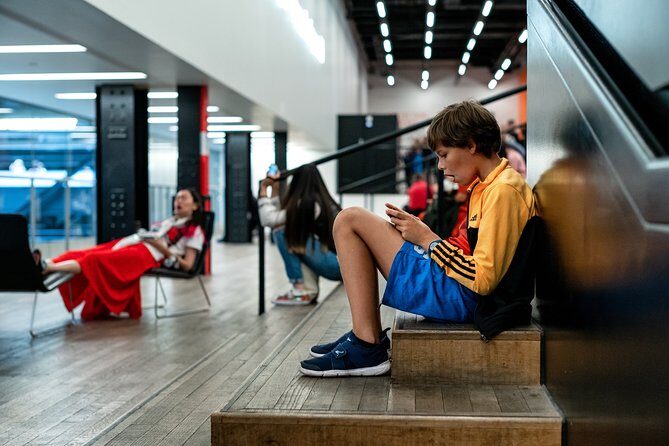
As the route moves toward Tate Modern, you shift from dense street texture to strong architectural character. That gives you a different kind of photographic problem, and solving it improves your flexibility as a shooter.
Tate Modern-style areas are great for:
- Working with large forms and clean backdrops
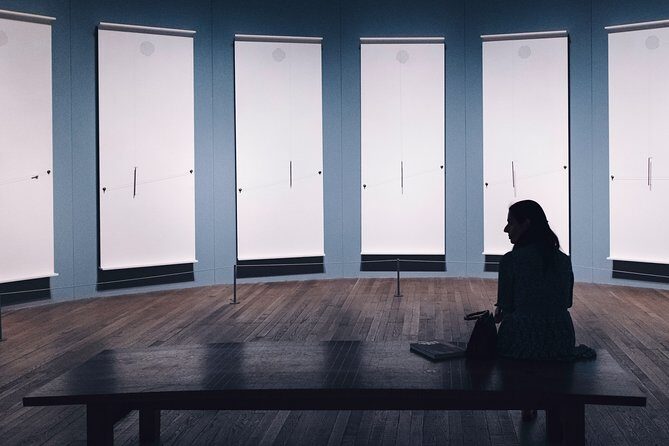
- Finding angles where people become silhouettes or scale references
- Using surrounding structures to create a layered frame
In feedback, people praise Ed for showing composition and light options. At this stage of the workshop, that guidance becomes useful because it helps you avoid the “default” view. Instead of photographing the obvious angle, you learn how to reposition your body—slightly—until the background supports the subject.
Practical note: Tate Modern is still in a city environment with foot traffic. So you’re not escaping the “busy street” challenge. You’re learning how to keep shooting even when conditions aren’t perfect.
Small Group of 5: Why That Size Changes Everything
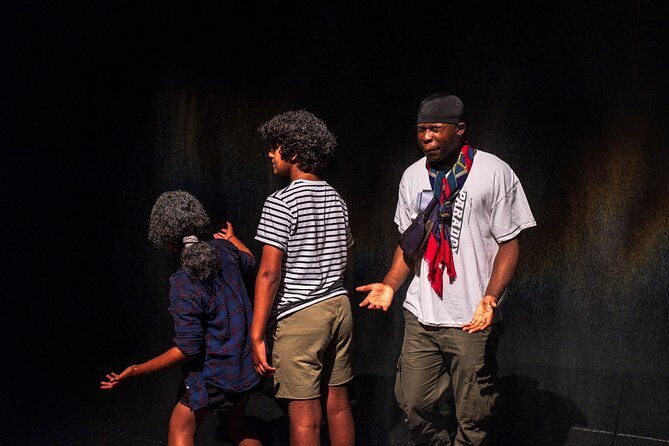
A workshop for up to 5 travelers is a big deal. It means:
- You get more than one round of feedback
- You’re less likely to get ignored when you ask a question
- Ed can watch your shots and adjust guidance on the fly
This is especially helpful because street photography is personal. Some people want candid portraits. Others want motion blur and street geometry. Others want cinematic scenes that feel like a movie still. A small group makes it easier to keep the teaching aligned with what you’re trying to make.
It also helps mentally. Street photography can feel exposed. Shooting with a small group gives you momentum, and Ed’s approach comes off as calming—helpful if you’re the type who second-guesses every click.
What You Get to Take Home: 16-GB SD Card and Shooting Time That Counts
The workshop includes a complimentary 16-GB SD card, and the promise is that you’ll take your pictures home on it. That’s not just a nice extra. It can save you hassle, especially if you arrive without spare storage or if your card is already full.
The other “take home” value is less physical: improved decision-making. After a good street workshop, you stop shooting like you’re collecting proof and start shooting like you’re building a sequence. You understand how to pick a stance, wait for the moment, and then move on when the scene has given you all it will.
And because the workshop is roughly 3 hours, you’re not stuck in a half-day of vague instruction. You get concentrated practice, then you can keep shooting on your own with a clearer plan.
Price and Value: Is $123.45 Worth a London 3-Hour Workshop?
At $123.45 per person, the headline number is fair to ask about—especially in London where tours can get pricey. Here’s why the value can still make sense for the right traveler:
- You’re paying for guidance while you shoot, not just a sightseeing walk.
- Small group size (max 5) tends to justify the price because it improves feedback quality.
- You get a professional guide (Ed Fil) who shares light and composition help tied to where you are.
- You receive a 16-GB SD card, which is a real cost offset.
- The focus is on areas you can’t easily “optimize” by yourself: London Bridge, Borough Market, Tower Bridge, and Tate Modern done with street-appropriate composition practice.
If you’re the kind of person who enjoys photographing but struggles to know what to do next in the moment, you’ll probably feel the value quickly. If you already have a strong street workflow and mostly want locations only, you might not find it worth it.
Who This Workshop Suits Best (and Who Might Want a Different Style)
This workshop fits you well if:
- You want street photography practice in specific London areas
- You want tips for light and composition you can apply immediately
- You like small-group attention and a calm teaching style
- You’re interested in making photos that feel like travel, not just street snapshots
It might be less ideal if:
- You strongly prefer quiet, minimal crowds while photographing
- You want a long seated class instead of on-foot shooting time
- You already feel fully confident and just want a self-guided route (the paid instruction may feel unnecessary)
Quick Practical Setup Tips Before You Go
The tour is in English and designed for real streets, so do yourself a favor beforehand:
- Bring whatever camera setup you normally use, and make sure it’s ready to shoot.
- Think about what you want your photos to emphasize: faces, action, landmark scale, or details.
- Wear comfortable walking shoes. You’ll be on foot through multiple photo zones.
- Charge up your gear before you leave your base so you don’t waste shooting time.
If you’re nervous about street photography, take a breath before the first click. The workshop is built to help you feel steadier as you go.
Should You Book This London Street Photo Workshop?
I’d recommend booking if you want a guided street practice session in London Bridge–City–Tate Modern zones, with teaching that adjusts to your level and time spent actually shooting. The small group, Ed Fil’s calm instruction, and the practical landmark-foreground technique are the kind of things that can improve your photos fast.
I’d skip it if you mainly want a passive sightseeing tour or you strongly dislike busy public spaces while taking photos. This workshop leans into street reality, on purpose.
If you’re somewhere in the middle—curious, motivated, and willing to walk and shoot—you’ll likely leave with better photos and a clearer idea of how to work London streets.
FAQ
Where does the London Street Photo workshop start?
The meeting point is Science Gallery Great Maze Pond, London SE1 9GU, UK.
How long is the workshop?
It runs for about 3 hours.
How many people are in the group?
The maximum group size is 5 travelers.
What areas do you photograph during the workshop?
You explore areas around London Bridge, the City of London, and Tate Modern on foot.
Is the workshop offered in English?
Yes, it is offered in English.
Do I get anything included for my photos?
Yes. You get a complimentary 16-GB SD card to take your pictures home.
Is a mobile ticket provided?
Yes, it includes a mobile ticket.
What is the cancellation rule?
You can cancel for a full refund up to 24 hours before the experience starts.
Are service animals allowed?
Yes, service animals are allowed.