REVIEW · LONDON
Melt Chocolate’s Magical Master Class
Book on Viator →Operated by Melt Chocolates Notting Hill · Bookable on Viator
Chocolate making in Notting Hill is serious magic. This small-group Melt master class turns the process from cocoa bean to candy into something you can actually understand, with hands-on steps and tasting along the way. You get expert guidance on key techniques like tempering and enrobing, plus a behind-the-scenes view of how chocolate flavors shift as you work.
I also love that it is not just watch-and-snack. You crack and winnow cocoa beans, grind them with a pestle and mortar, and then learn how to shape chocolate into the bars and sweets you’ll take home in beautiful packaging. The main drawback is simple: it is a fully hands-on, ingredient-heavy 3-hour session, so if you want a low-effort tasting only, this one might feel like work.
In This Review
- Key highlights at a glance
- Bean-to-bar chocolate class, not a demo
- Price and what you really get for $204.39
- Ledbury Road to the end back at the start: how the class runs
- Cocoa beans first: cracking and winnowing for real flavor
- Grinding with a pestle and mortar: where the class gets hands-on
- Tempering and molding: the technique behind that clean snap
- Ganache and bonbons: making a dozen you can actually show off
- Praline bonbon: the crunchy payoff
- A chocolate bar from cocoa bean to your own hands
- The chocolate stories: Aztecs and why history shows up in your mouth
- Small group energy: why max 6 people is a big deal
- What to bring (and what not to overthink)
- Who should book Melt’s Magical Master Class
- Should you book it?
- FAQ
- How long is Melt’s Magical Master Class in London?
- Where does the class meet, and does it end nearby?
- What’s included in the price?
- Is transport included?
- What can I make during the class?
- Can I cancel for a full refund?
Key highlights at a glance
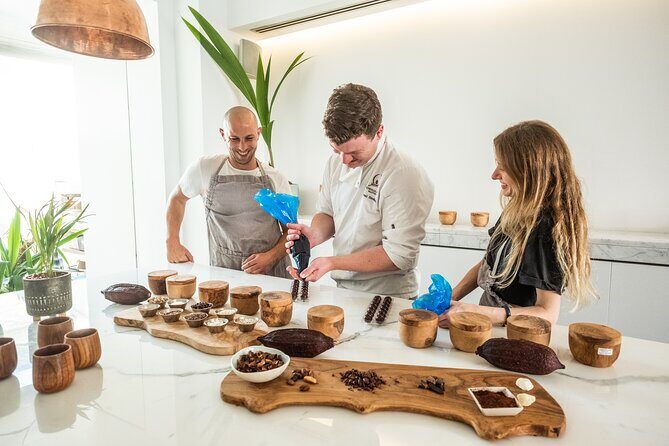
- Max 6 people means more attention and more time at the stations
- Bean-to-bar steps include crack, winnow, grind, temper, and shape
- Tasting at stages helps you learn why flavors develop as you go
- Make-and-take sweets: a chocolate bar plus bonbons and praline
- Notting Hill location near Ledbury Road keeps this grounded in real London
Bean-to-bar chocolate class, not a demo
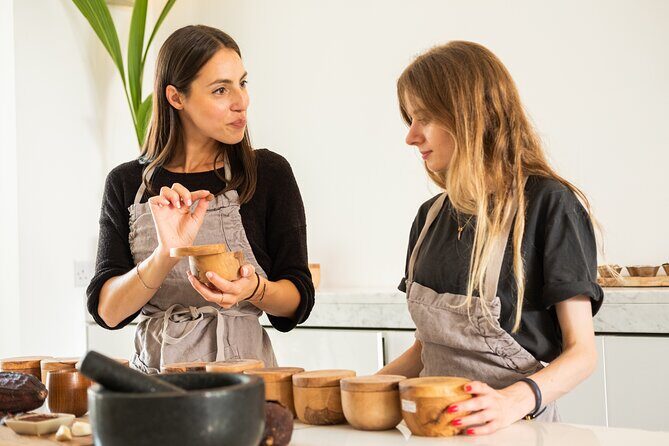
This is the kind of chocolate experience that makes you stop and pay attention. You start with whole cocoa beans and work through the steps that normally happen far away in factory land. That matters because chocolate is not one flavor. It changes as it moves through grinding, warming, and tempering. In this class, you can taste that shift instead of guessing.
And since the group is capped at six, you get real coaching, not vague instructions. I like that the team is focused on technique. You are learning what to do, not just being told what to taste. You also get a behind-the-scenes view of how the process fits together from bean to bar.
A few more London tours and experiences worth a look

Price and what you really get for $204.39
At $204.39 per person, this is not a budget workshop. But you are paying for a lot of tangible output and guided practice. The class includes chocolate ingredients and the chocolate class itself, and you leave with multiple items you made, not just samples you ate in the room.
You’ll spend about three hours doing real steps: making ganache, learning tempering, enrobing bonbons, and working toward a finished chocolate bar. You are also taught the praline bonbon technique, which is a different skill set from plain chocolate bars. For many people, the value is in learning the method so you could try it at home later, even if you will not have the exact same setup.
One thing to keep in mind: transport is not included. So if you’re coming in from far out, the full cost depends on how you get there. The address is in Notting Hill, which can be convenient or pricey depending on where you start.
Ledbury Road to the end back at the start: how the class runs
The experience meets at 59 Ledbury Rd, London W11 2AA, and it ends back at the meeting point. That is helpful for planning. You do not have to map a second location or worry about getting stranded somewhere else at the end.
The workshop runs in English and uses a mobile ticket. If you are the type who likes everything organized, this should feel straightforward: confirm your booking, show up with your ticket on your phone, and get ready for a practical session.
A good practical note: expect to do more than just taste. You’ll be cracking and winnowing cocoa beans, grinding them, and working with chocolate at stages where timing matters. Wear clothes you do not mind getting cocoa dust on. The class is built to be worked, not hovered over.
Cocoa beans first: cracking and winnowing for real flavor
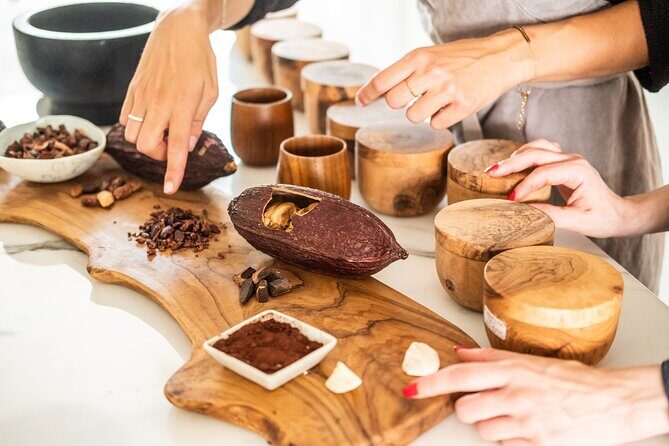
The best part of the early minutes is that you get to handle the start of the story. You’ll crack and winnow cocoa beans, learning how you go from whole beans to usable nibs and grounds. It sounds simple, but it teaches you something important: the bean is not the finished product. It is raw material that has to be processed correctly.
Then comes the sensory education. The class includes tasting at each stage, so you begin noticing how flavors shift as you process the chocolate. That is the difference between a tasting and a technique class. You’re not just eating chocolate and hoping it’s good. You’re learning what changes each time.
Grinding with a pestle and mortar: where the class gets hands-on
After the cocoa beans are ready, you move to grinding using a pestle and mortar. This step is slower than factory processing, which is exactly why it helps learning stick. You can feel texture changes and smell the cocoa developing as it breaks down further.
If you have ever tasted chocolate and wondered why two bars can taste so different, this is the moment that gives you a clue. Ground cocoa behaves differently from raw nibs. You also get the chance to taste so you can connect what you are doing with what you’re noticing.
And yes, the tasting is part of the learning style. You’ll taste the chocolate at stages to see how the flavor notes develop over time. That kind of repetition turns into a mental map you can use later when you read labels or pick a bar.
A few more London tours and experiences worth a look




Tempering and molding: the technique behind that clean snap
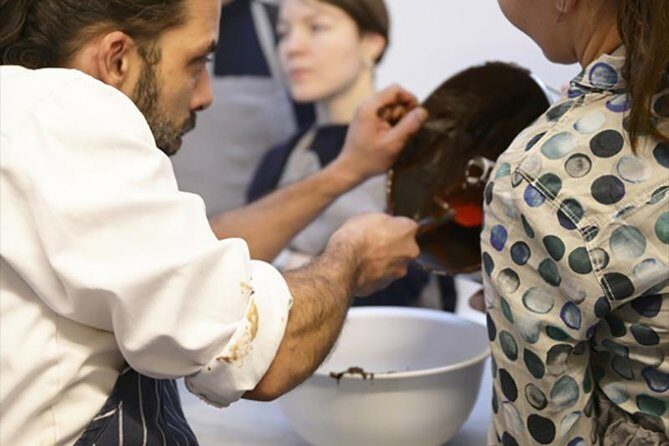
Tempering is where many people get lost, because it feels invisible. The chocolate looks like chocolate, so what is the big deal? In this class, you learn what tempering is doing and how it affects the finished result.
You will learn how to temper and then pipe or mould chocolate into your own bar. The goal is to get chocolate that sets correctly and has the right texture. When tempering is done well, you get a smoother finish and that satisfying bite people look for in good bars.
The training here is practical: you are working with chocolate at the right stage, guided step-by-step. That makes tempering less like a mystery and more like a process you can follow.
Also, you’ll be creating something to take home. That helps focus. You have a reason to care about details beyond the fun of it.
Ganache and bonbons: making a dozen you can actually show off
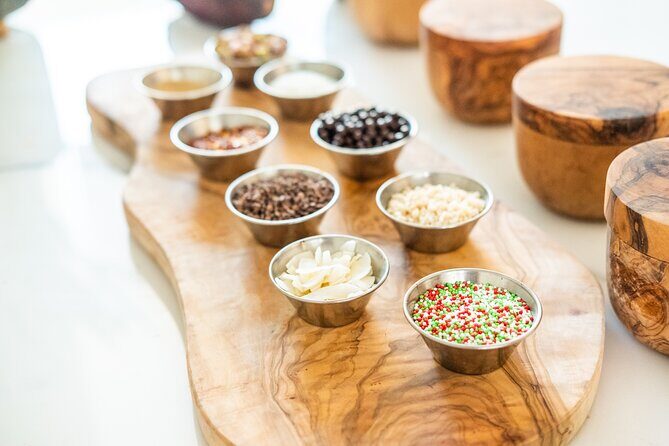
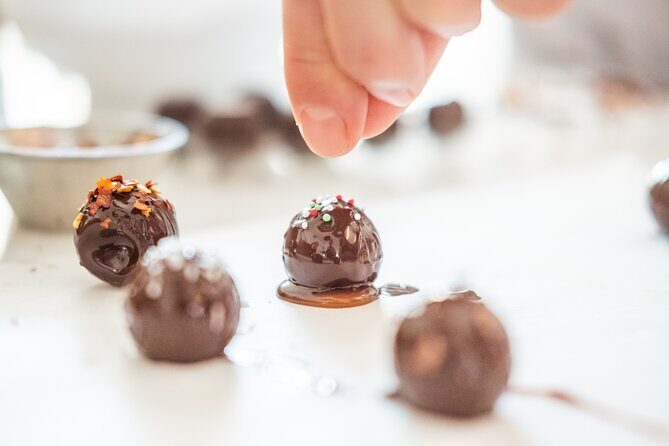
Next comes the part many people come for: bonbons. The class teaches you how to make ganache and create a dozen of bonbons. Ganache can sound fancy, but the real value here is that you learn method and proportion. It is the sort of skill you can reuse later when you make desserts beyond chocolate.
Once the ganache is ready, you learn how to form and prepare the bonbons. The class description also mentions enrobing, which is the step that turns filled sweets into finished confections. Enrobing is one of those skills where practice beats guessing.
If you like the idea of making something that looks like it belongs in a shop window, you’re in the right place. You are not just tasting—you’re producing. And making a dozen gives you enough for sharing, gifts, or a second look at your own work before you eat it.
Praline bonbon: the crunchy payoff
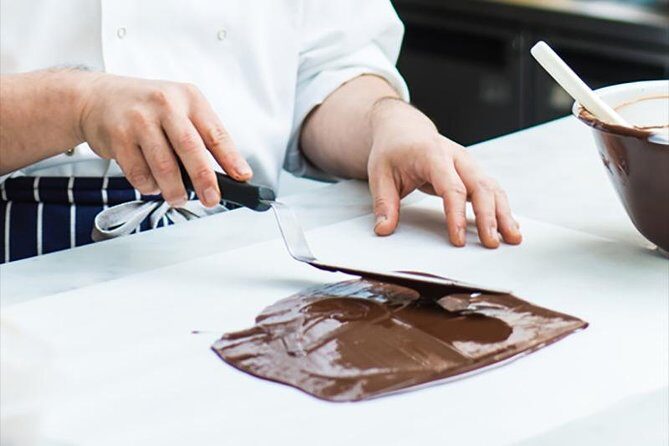
The menu includes a praline component described as the signature crunchy praline. This is where chocolate-making stops being only about smooth textures. Praline brings crunch, and it changes how you think about balance between filling and shell.
In the class, you learn the signature praline bonbon. That means you are working a different kind of confection, one with a texture contrast that’s hard to fake with a simple bar.
Even if you are new to candy-making, praline is a good teaching tool. It trains you to pay attention to texture and timing, not just flavor.
A chocolate bar from cocoa bean to your own hands
One of the standout promises is that you make your own chocolate bar from cocoa beans. That is not just lip service. You crack and winnow, grind, and then move into tempering and shaping—so the bar really is the end product of everything you did earlier.
You’ll take home a unique chocolate bar with Melt’s packaging and a designer bag. That matters more than you might think. When your product is packaged nicely, it becomes gift-ready. It also adds a sense of closure to the class—you can look at what you made and understand how each step led to that final bar.
Also, since you’re learning why flavors change at each stage, tasting your finished bar later feels like a storyline payoff, not just a dessert.
The chocolate stories: Aztecs and why history shows up in your mouth
The class also weaves in the history of chocolate, including how the Aztecs created use and appreciation for cocoa. You do not get a long museum lecture. It’s more like context as you work with the ingredients.
I like this approach because it makes the raw material feel less like a random ingredient and more like something with a journey. Knowing where cocoa fits into older stories helps you taste with more attention. It also makes the class feel more like a “why this matters” experience instead of only technique.
Small group energy: why max 6 people is a big deal
A class capped at six people is one of the biggest reasons this workshop scores highly. In a small group, instructors can watch what you do and correct issues while they are still fixable.
That’s especially important for chocolate. Tempering and enrobing have timing. If you are unsure, you need a quick answer. A small class makes that realistic.
It also keeps the pace comfortable. You spend time doing each stage without feeling rushed into the next station before you understand what just happened.
What to bring (and what not to overthink)
The data does not list a strict dress code, so I’d treat this like any hands-on food workshop: bring comfortable clothes and expect cocoa dust and a little mess. If you have allergies, check with the provider when you book, because chocolate and ingredients are included and you’ll be working with them directly.
For gifts, plan your timing. The class ends back at the meeting point, and you’ll have your finished treats packaged. If you are walking afterward, keep in mind you’ll probably want to protect the sweets from heat.
Who should book Melt’s Magical Master Class
This is a great fit if you:
- Want hands-on chocolate technique, not just tasting
- Like small group learning
- Enjoy making things you can bring home
- Are curious about how flavor changes through real processing steps
It may be less ideal if you:
- Want a low-effort experience with minimal hands-on work
- Are hoping for transport to be handled for you
- Prefer only tasting and not learning tempering and candy assembly
Based on the overall feedback score of 4.5 out of 5 from 10 reviews and about 90% recommending it, it looks like most people come away happy with the value and the output.
Should you book it?
If you love chocolate and you also like learning how it’s made, I think this is a smart booking. The price is not cheap, but you get real skills and real take-home results: a chocolate bar plus bonbons and praline, taught through bean-to-bar steps with tasting along the way.
If your travel style is more “quick bite and move on,” choose something lighter. But if you want a memorable London food experience that gives you technique, texture, and gift-ready sweets, Melt’s Magical Master Class is an easy yes.
FAQ
How long is Melt’s Magical Master Class in London?
It runs for about 3 hours.
Where does the class meet, and does it end nearby?
It starts at 59 Ledbury Rd, London W11 2AA, and the activity ends back at the meeting point.
What’s included in the price?
The price includes the chocolate class and the chocolate ingredients.
Is transport included?
No, transport is not included.
What can I make during the class?
You’ll learn to make ganache and create a dozen of bonbons. You’ll also learn the signature crunchy praline bonbon, and the class includes making chocolate bars from cocoa beans with tempering and moulding or piping.
Can I cancel for a full refund?
Yes. You can cancel for a full refund if you cancel at least 24 hours before the experience’s start time.